
Nowadays, hand-crafted soaps are fetching top-dollar at specialty boutiques and online. And why not? A well-made bar of soap that has special ingredients is a nice, not-too-expensive luxury item you can purchase without guilt for no other reason than to spoil yourself. But you don’t have to pay high prices for this homey little luxury. You can, actually, make your own!
Soap making is a rewarding hobby. In addition to being practical, it allows a lot of space for creativity and is fun. It is pretty difficult to mess up when making soap, so you will probably deliver successful batches from the beginning. And when end up having more soap than you know what to do with? No problem. Gift it to friends and family on the holidays or birthdays. People always appreciate it, especially when you made it yourself.
This post will contain information on the basics of soapmaking, the different processes people use for making soap, the materials you need, some of my own soap recipes, and additional special techniques.
Basic Chemistry of Soap Making
There are 3 basic ingredients necessary for making soap: water, fatty acid, and a strong alkali. Fatty acids include animal fats (lard or tallow) and oils derived from plants. The alkalis used in soap making include: sodium hydroxide (also known as caustic soda) which is used for making bar soap, and potassium hydroxide which is used to make liquid soap.In this post, I will only talk about making bar soap, so I will only be talking about sodium hydroxide which I may also refer to as lye or caustic soda.
When lye makes contact with a fatty acid, especially when subjected to heat, a reaction called saponification takes place which converts the fatty acid chains of triglycerides into soap. In commercial soap production, glycerol (also known as glycerin) is separated from the soap in the process. For further details on saponification, see Wikipedia‘s entry. A major difference between commercial soap and small-production artisan soap is that commercial soap is purely soap since the glycerin is removed. In artisan soap, the glycerin remains in the soap. This is not regarded as a problem as glycerin has good skin conditioning properties. In hand-made soaps, soapmakers often add special additive ingredients unrelated to the chemistry of saponification in the belief that the additives will contribute some special quality to the soap. For example, the addition of colloidal oatmeal is thought to make the soap more conditioning for the skin. Other additives sometimes used include: beer, honey, goat’s milk, yogurt, coconut milk, avocado, activated charcoal, herbs, turmeric, clay, various exfoliants, and colorants such as oxides (Titanium Dioxide for white, Red Iron Oxide, Chromium Oxide for green)or micas. While additives high in sugar (beer, or honey) will speed up the saponification reaction, it is often unclear what effect some additives have on the final outcome of a soap or how the additive affects to process of saponification.
Cold-Process Soap Making
Among artisan soapmakers, the cold-process method is currently the most popular. In cold-process, the sodium hydroxide and fatty acids are mixed at a relatively low temperature ( usually 90-120° F) to start off saponification. Usually a stick blender is used to kickstart the process along with a whisk. Once the process is adequately started and the mixture is placed in a mold, the mold is usually insulated to retain the heat. Saponication is complete within 24 to 36 hours.
Cold process is popular because the cold temperature affords a range of possibilities for coloring and for using food additives which may not be possible in the hot process method. The main disadvantage in cold-process is that saponification is drawn out for a long period. Because essential oils are added when cold and saponification can bring the temperature up to 200°F, sometimes the essential oils are destroyed in the process.
Hot-Process Soap Making
Unlike cold-process, in the hot-process method, the ingredients are continually heated until saponification is complete. Heating is usually done in a crock pot (slow cooker). The artisan may initiate saponification by creating an emulsion with a stick blender and continue the process with a whisk or silicone spatula. After saponification is complete, it is best to wait for the temperature to drop to a suitable level before adding essential oils or fragrance oils. In hot-process water is lost through evaporation and the soap mixture can thicken. For this reason, soapmakers may find it more difficult to create the coloring effects often seen in cold process soaps. In general, hot process soaps tend to look more rustic than cold process soap. In hot process, you can see the soap go through various stages (named for their appearance)of saponification: trace, gel, separation, mashed potato, vaseline. Depending on the soap recipe and the heat, a batch may not go through all 5 stages. But one can tell saponification is complete when the batch reaches the vaseline stage; that is when it resembles a big dark pile of vaseline. I find the hot-process more satisfying because it is possible to see all the phases the soap goes through and, moreover, it is possible to use the soap within a few days. One advantage of hot-process is that the essential oils are put in at the end while the batch is cooling down. You have control over the temperature and can be sure you will not lose your essential oils to excessive heat.
Cold-Process Oven Process (CPOP)
CPOP is the least commonly used method for making soap. Using CPOP, the soap maker starts the Cold-Process by emulsifying the lye and oils to start the saponification process. The mixture is then put in a mold and placed in an oven at low heat for several hours to complete saponification the same day (which is the only advantage). The main disadvantage is that this method can result in spoiled batches. Another disadvantage is that the heat of this process can destroy the essential oils. So, basically, it is difficult to scent an oven baked soap. For these two reasons most soap makers do not use this process.
Items Needed to Make Soap
- Sodium Hydroxide
- Vegetable oils, or other fatty acids such as lard or tallow
- Soap Mold
- parchment paper needed for wooden mold
- Digital Scale
- Stick blender with a stainless steel neck
- stainless steel whisk
- plastic or silicon kitchen spatulas
- slow cooker or stainless steel pot
- infrared thermometer
- fragrance oil or essential oils
- distilled water
- large glass, ceramic or stainless steel mixing bowl
- protective wear: rubber gloves, eye protection, apron
Optional Items
- color additives: oxides, micas
- food additives: beer, honey, oatmeal, turmeric, goat’s milk yogurt, etc
- herbs: calendula, orange peel, lavender, rosemary, etc
- butters: shea, cocoa, avocado, mango, etc
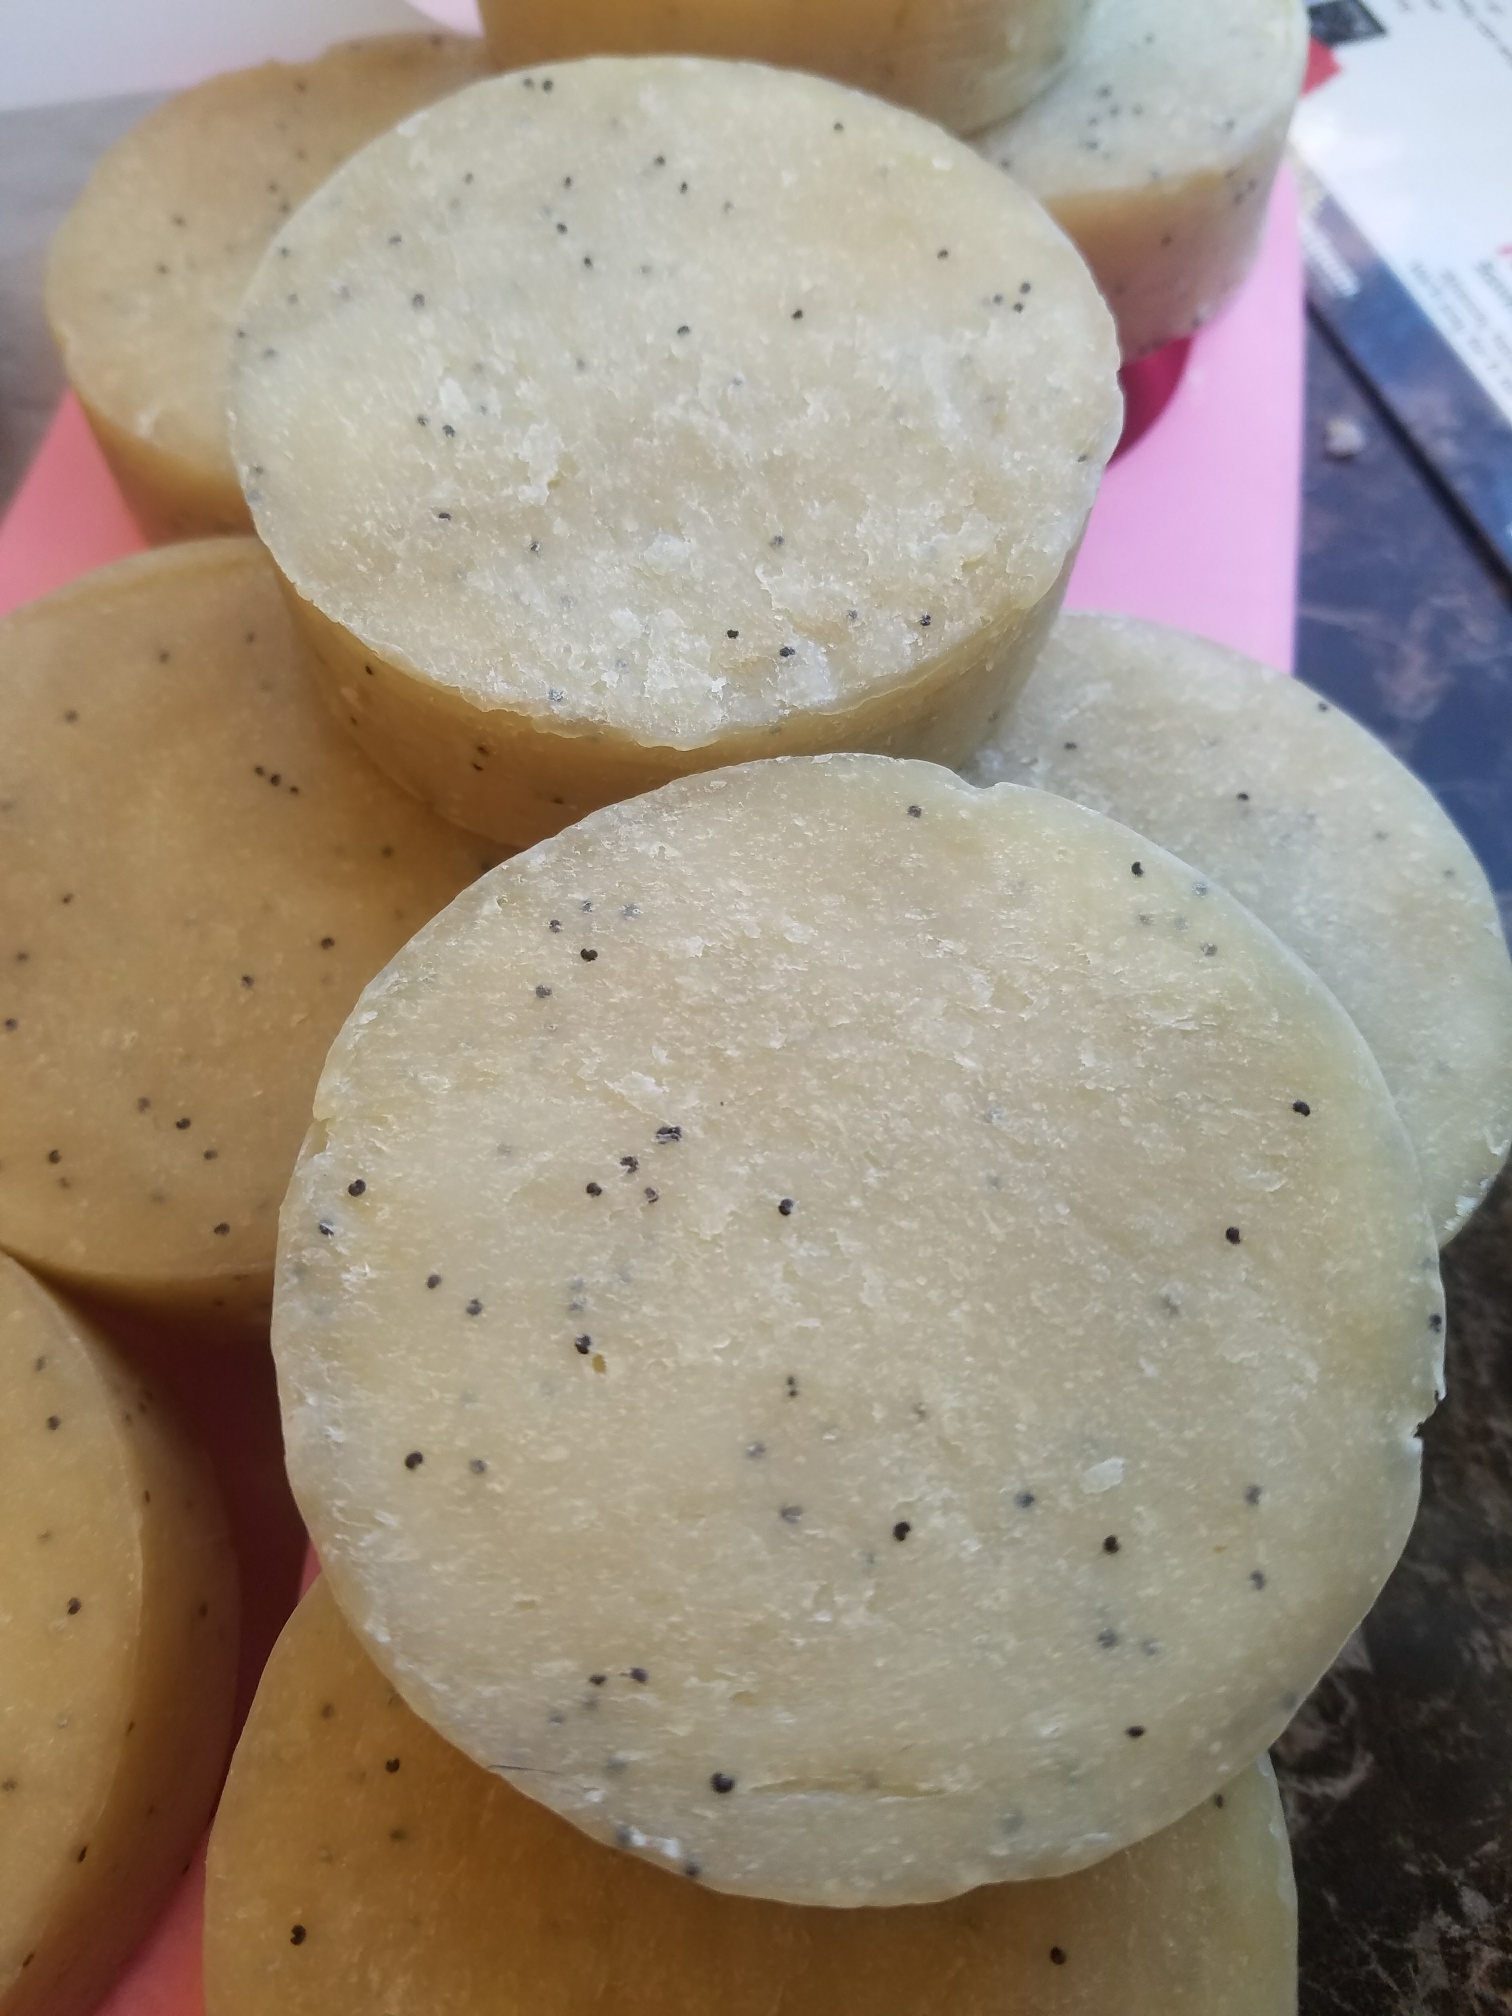
- exfolients: poppy seeds, herbs, crushed walnut shell, crushed rice or almonds
- clays: Kaolin, french green clay, bentonite
SAFETY WARNING:
Sodium Hydroxide is a dangerous, caustic substance that can cause harm or serious injury. To avoid contact with the eyes or skin, it is necessary to wear proper safety apparel such as gloves and safety glasses. Please read the safety information that is included with the product you buy.
Please keep in mind that it is very dangerous to have sodium hydroxide come in contact with aluminum. Such contact produces a strong chemical reaction that releases hydrogen gas. Therefore, it is very important that you do not use any aluminum utensils when making soap.
You will mix sodium hydroxide with water and this creates a heat-producing reaction. When mixing sodium hydroxide with water, you must not pour water on to a container of sodium hydroxide. When the two are mixed in this way, the heat of the reaction is not contained and can result in an explosion of the substances. Instead, the sodium hydroxide should be gradually added to a non-aluminum container of water.
Soap Recipe with Instruction (Cold-Process)
This is a relatively simple recipe that produces a good lathering, cleansing and conditioning soap. This recipe uses 1000 grams of oil which should produce a 10-bar loaf. Ingredients:
300 grams Coconut Oil
500 grams Olive Oil
140 grams Avocado oil
60 grams Castor Oil
140.85 grams of Sodium Hydroxide
380 grams of water
The sodium hydroxide has been discounted so that 5% of the oils will remain unsaponified. This is called “superfatting.” The purpose of superfatting is to leave some free oils so that they nourish or moisturize the skin. Note about measurements: it is important to be accurate in your measurements, particularly with the sodium hydroxide. If there is too much sodium hydroxide, your soap will be too alkali and can be harmful for skin. Superfatting helps to avoid this problem. You can be a little loose with the measurement. It is possible to go all the way down to a lye mixture of 50% sodium, 50% water, although you really don’t want to do this. On the other hand, you can use a very diluted solution. But if you use a lot of water it will take longer for the water to evaporate from the soap allowing the soap to harden.
Procedure:
With the water in either a glass or stainless steel bowl, slowly add the sodium hydroxide and stir with a plastic or stainless steel spoon to dissolve. Be careful of the fumes. The water will heat up. Monitor the temperature with a digital thermometer. After it cools you will mix it with the oils. Put the oils together in a container and gently heat them in the range of 100-110 degrees Fahrenheit. When the sodium hydroxide has cooled down to the same temperature range, slowly pour it into the oil, being careful not to cause any splashes. It is also is a good idea to pour the lye solution through a strainer to remove any solid particles if there are any.

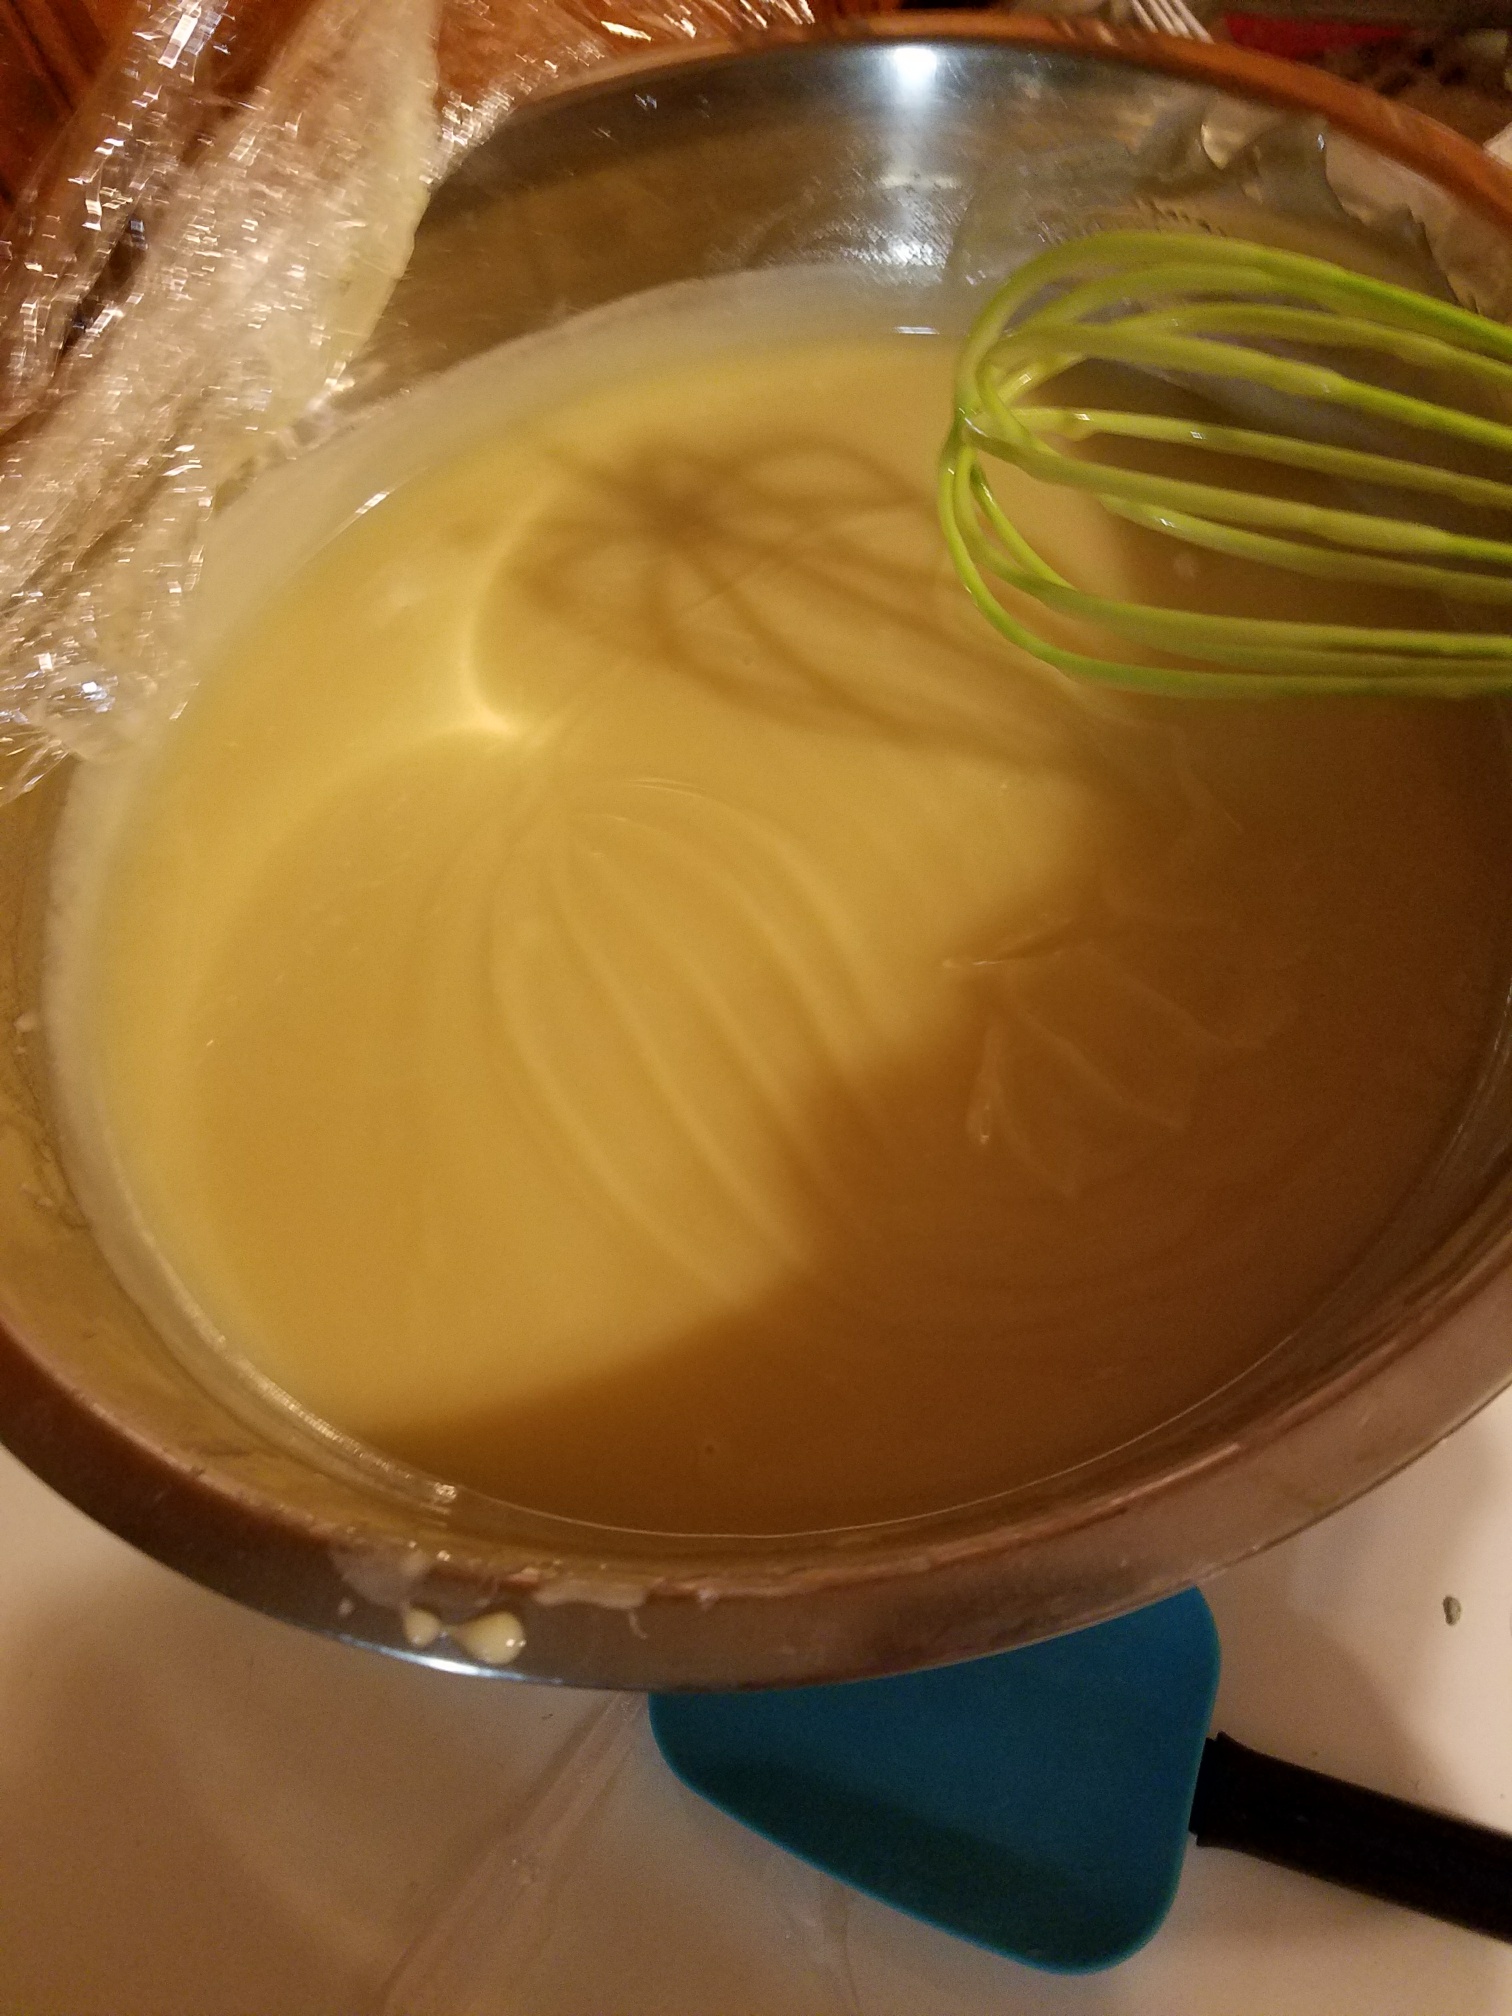
Alternate between using the stick blender in short bursts and stirring to create an emulsion. It will not take long to reach the stage called “light trace.” Trace is when the mixture has a consistency like pancake batter. When you drizzle or drip some of the mixture on the surface of the rest of it, it stays on the surface instead of sinking in. That is, you can see the trace of where it was drizzled. If the stick blender is used more, the mixture will become thicker and stiffer, achieving a thicker level of trace. If you keep you mix at light trace it will be easier to pour.
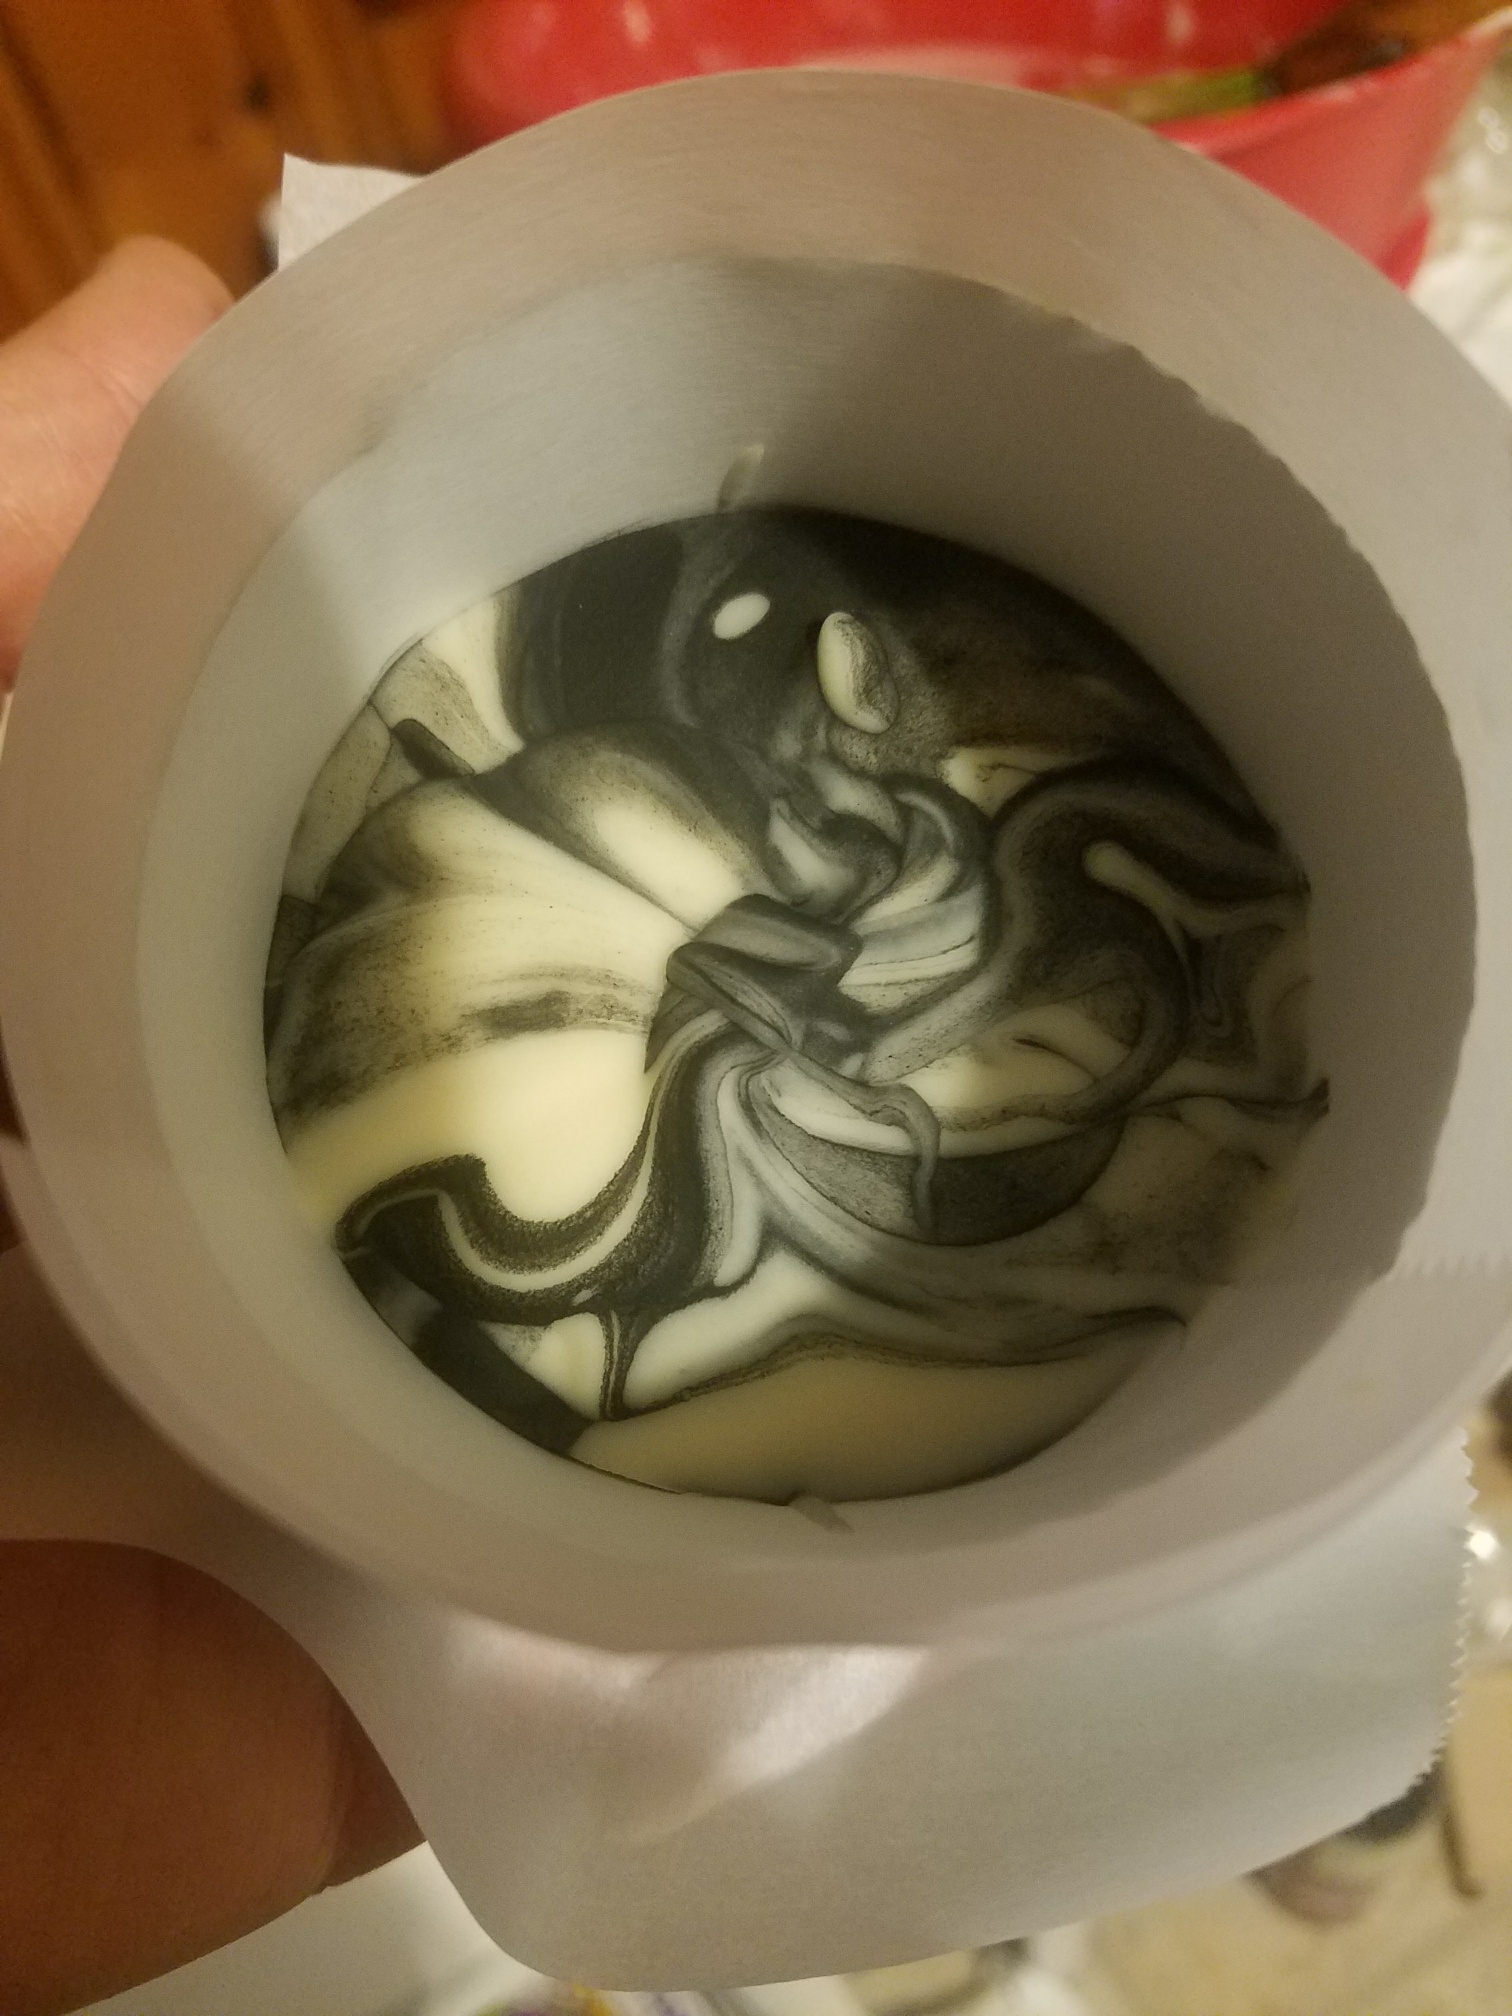
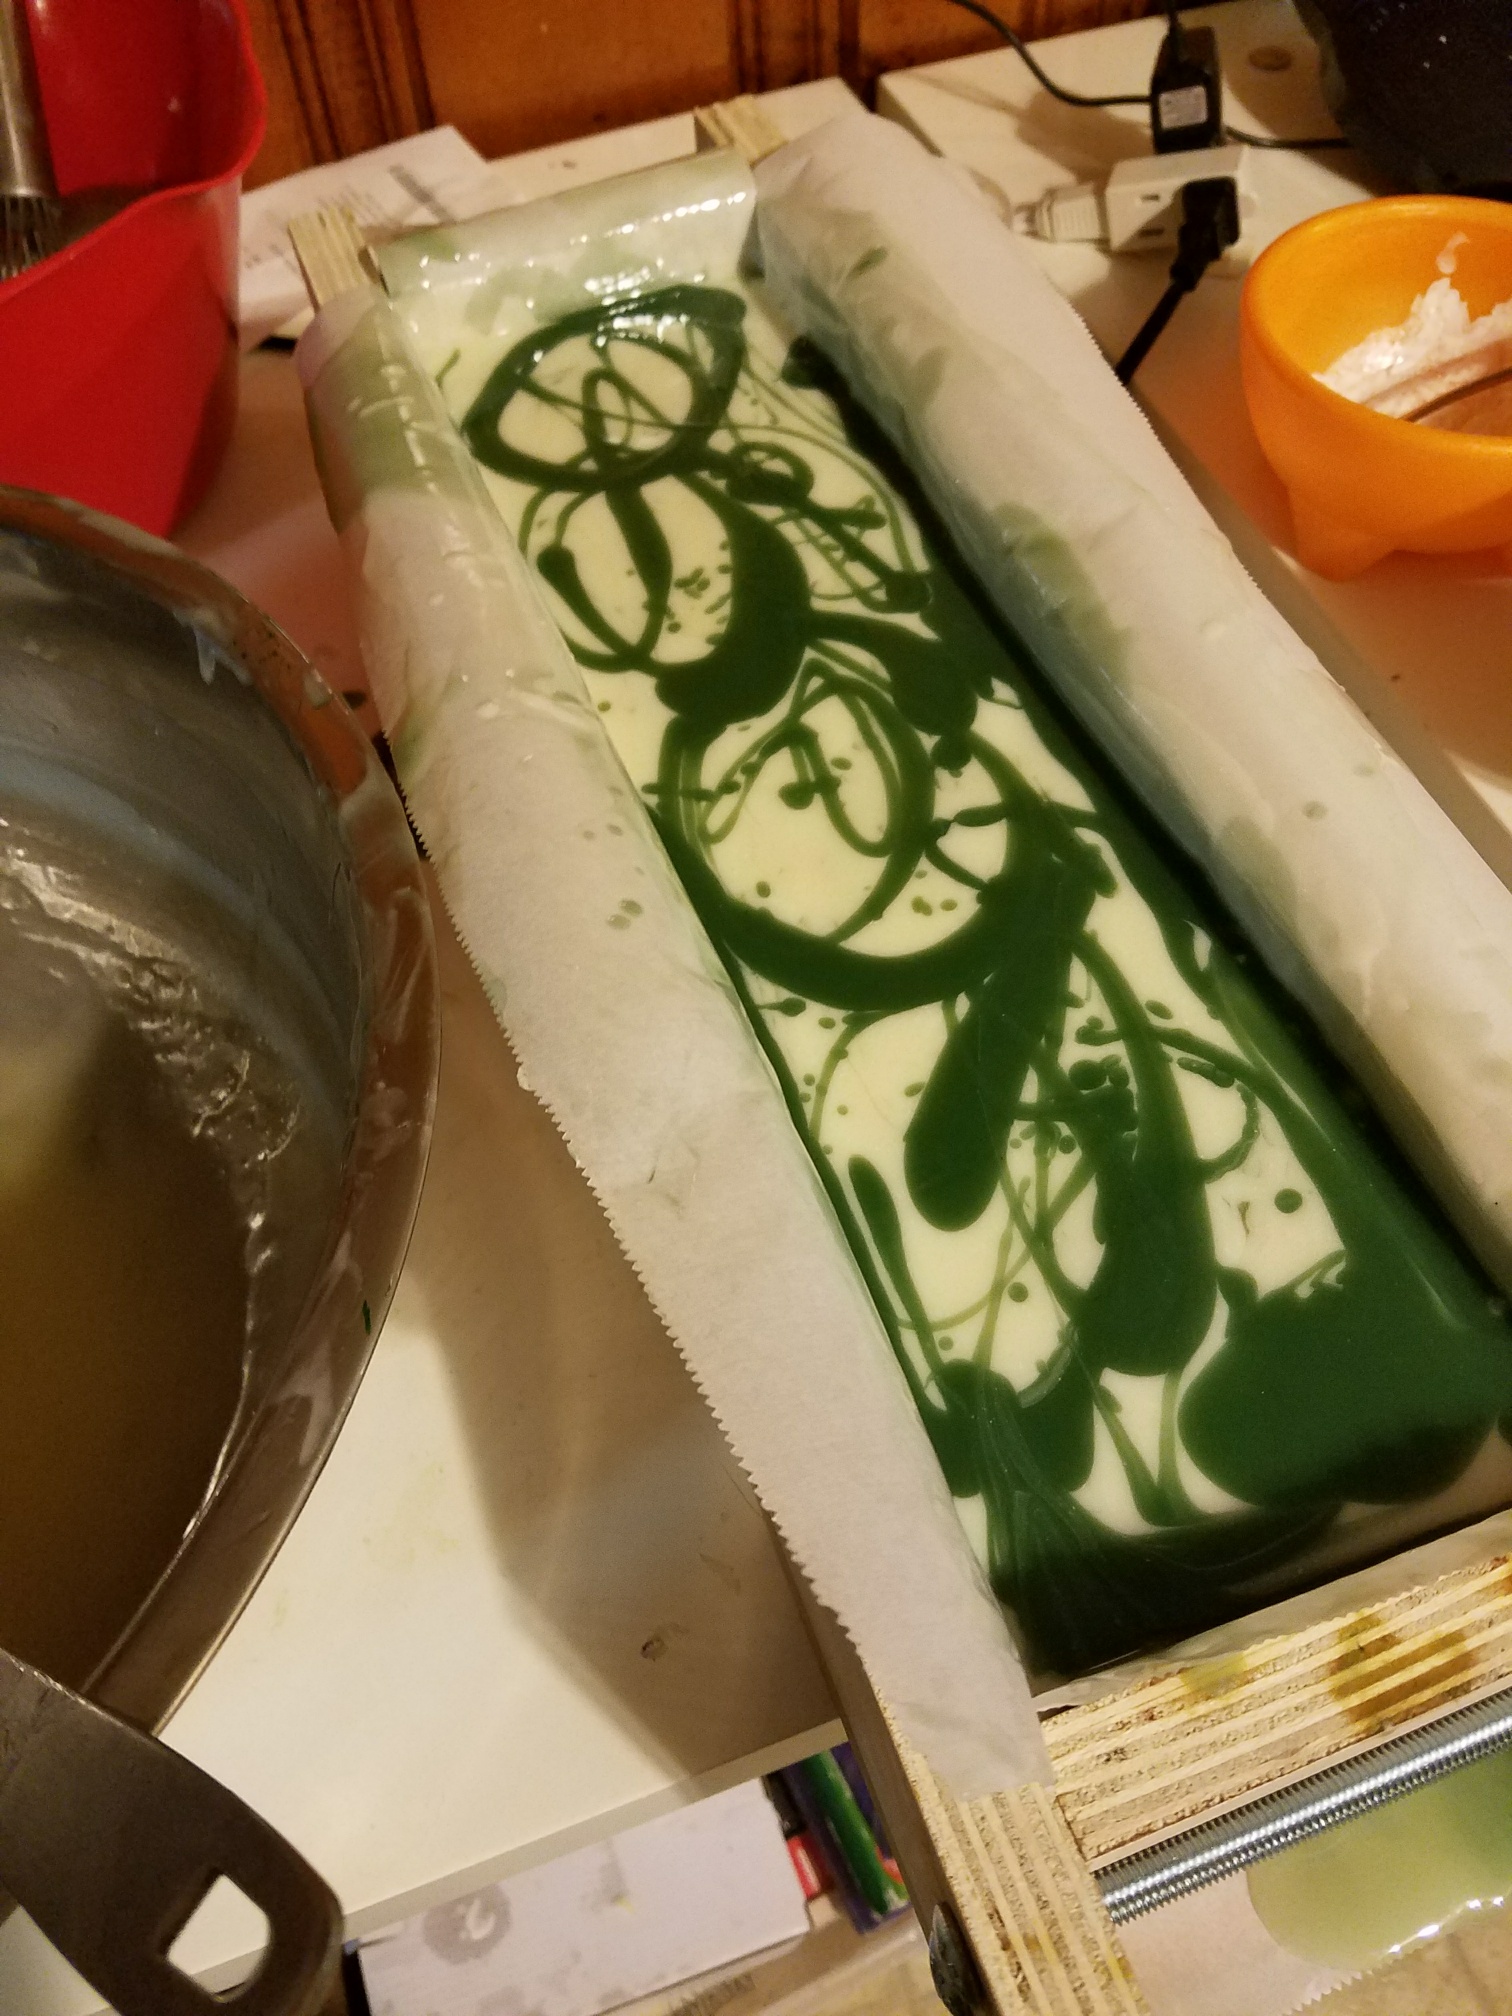
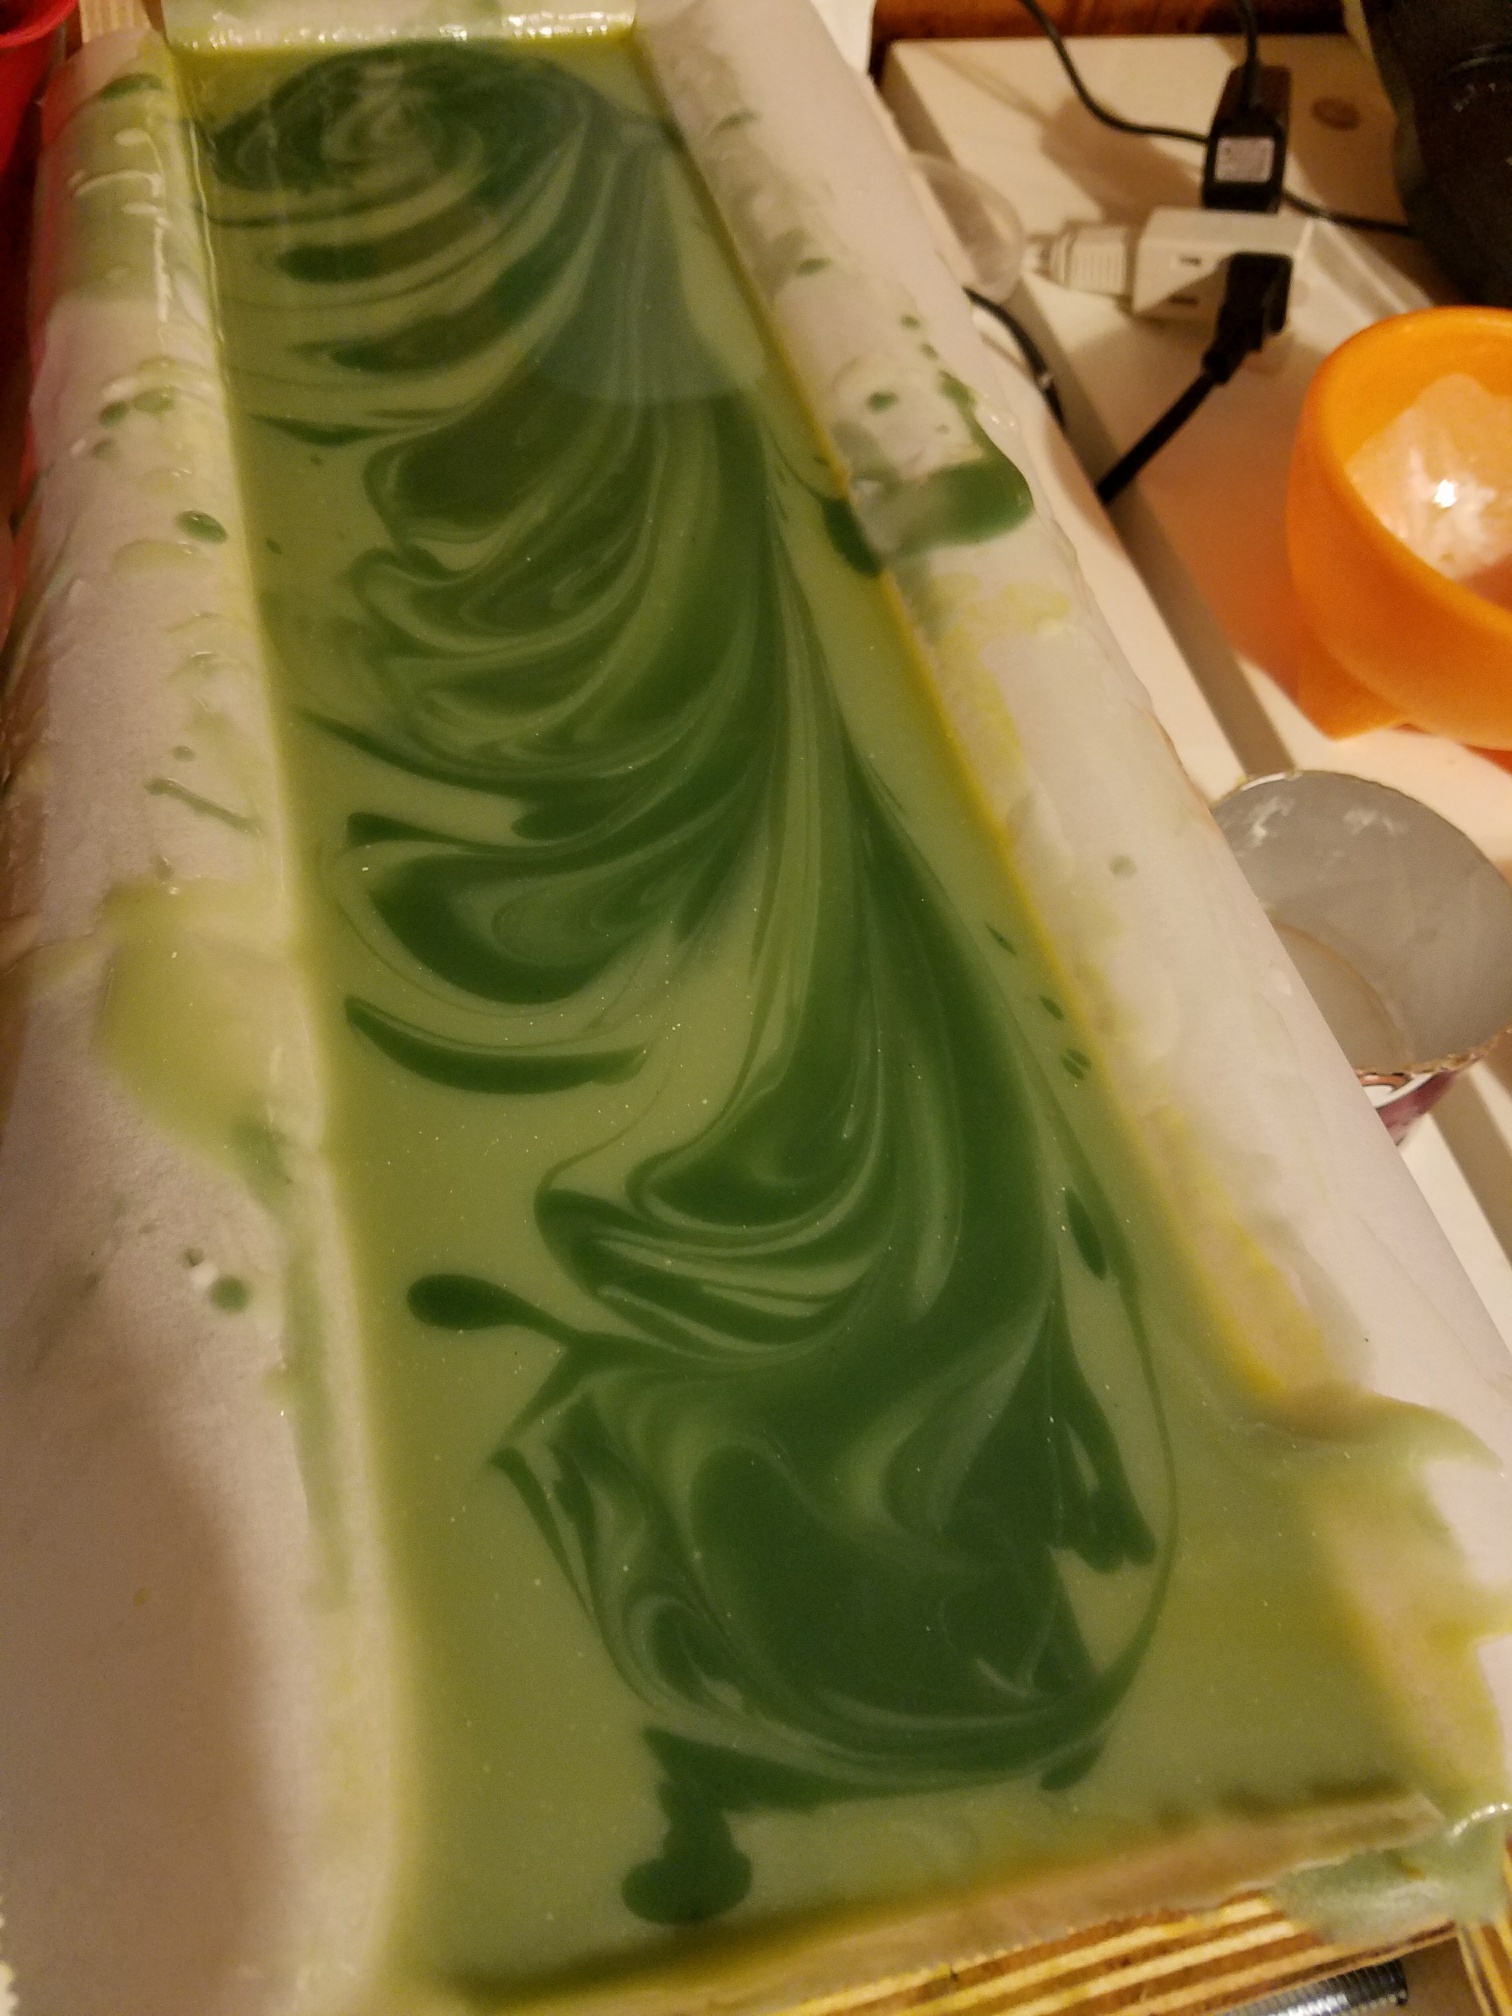
Once trace is reached, you can add your essential oils. In more advanced soap projects, this is the time when other ingredients, such as food additives or colorants, are added.
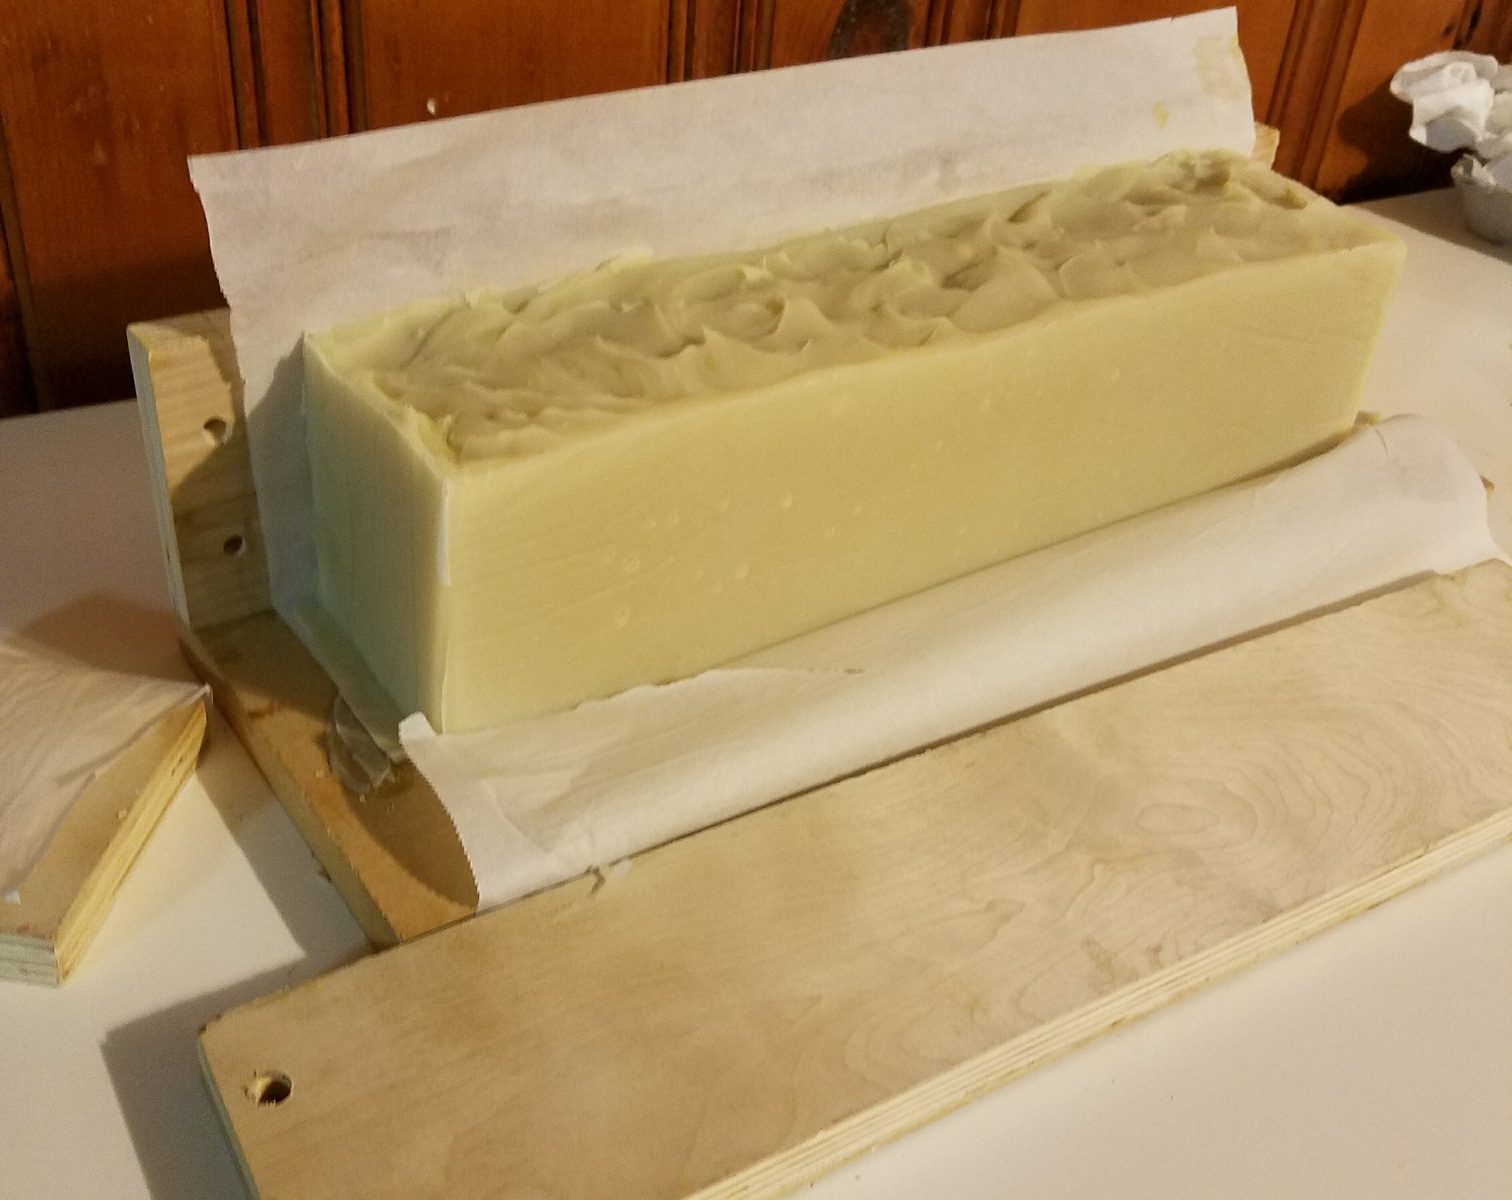
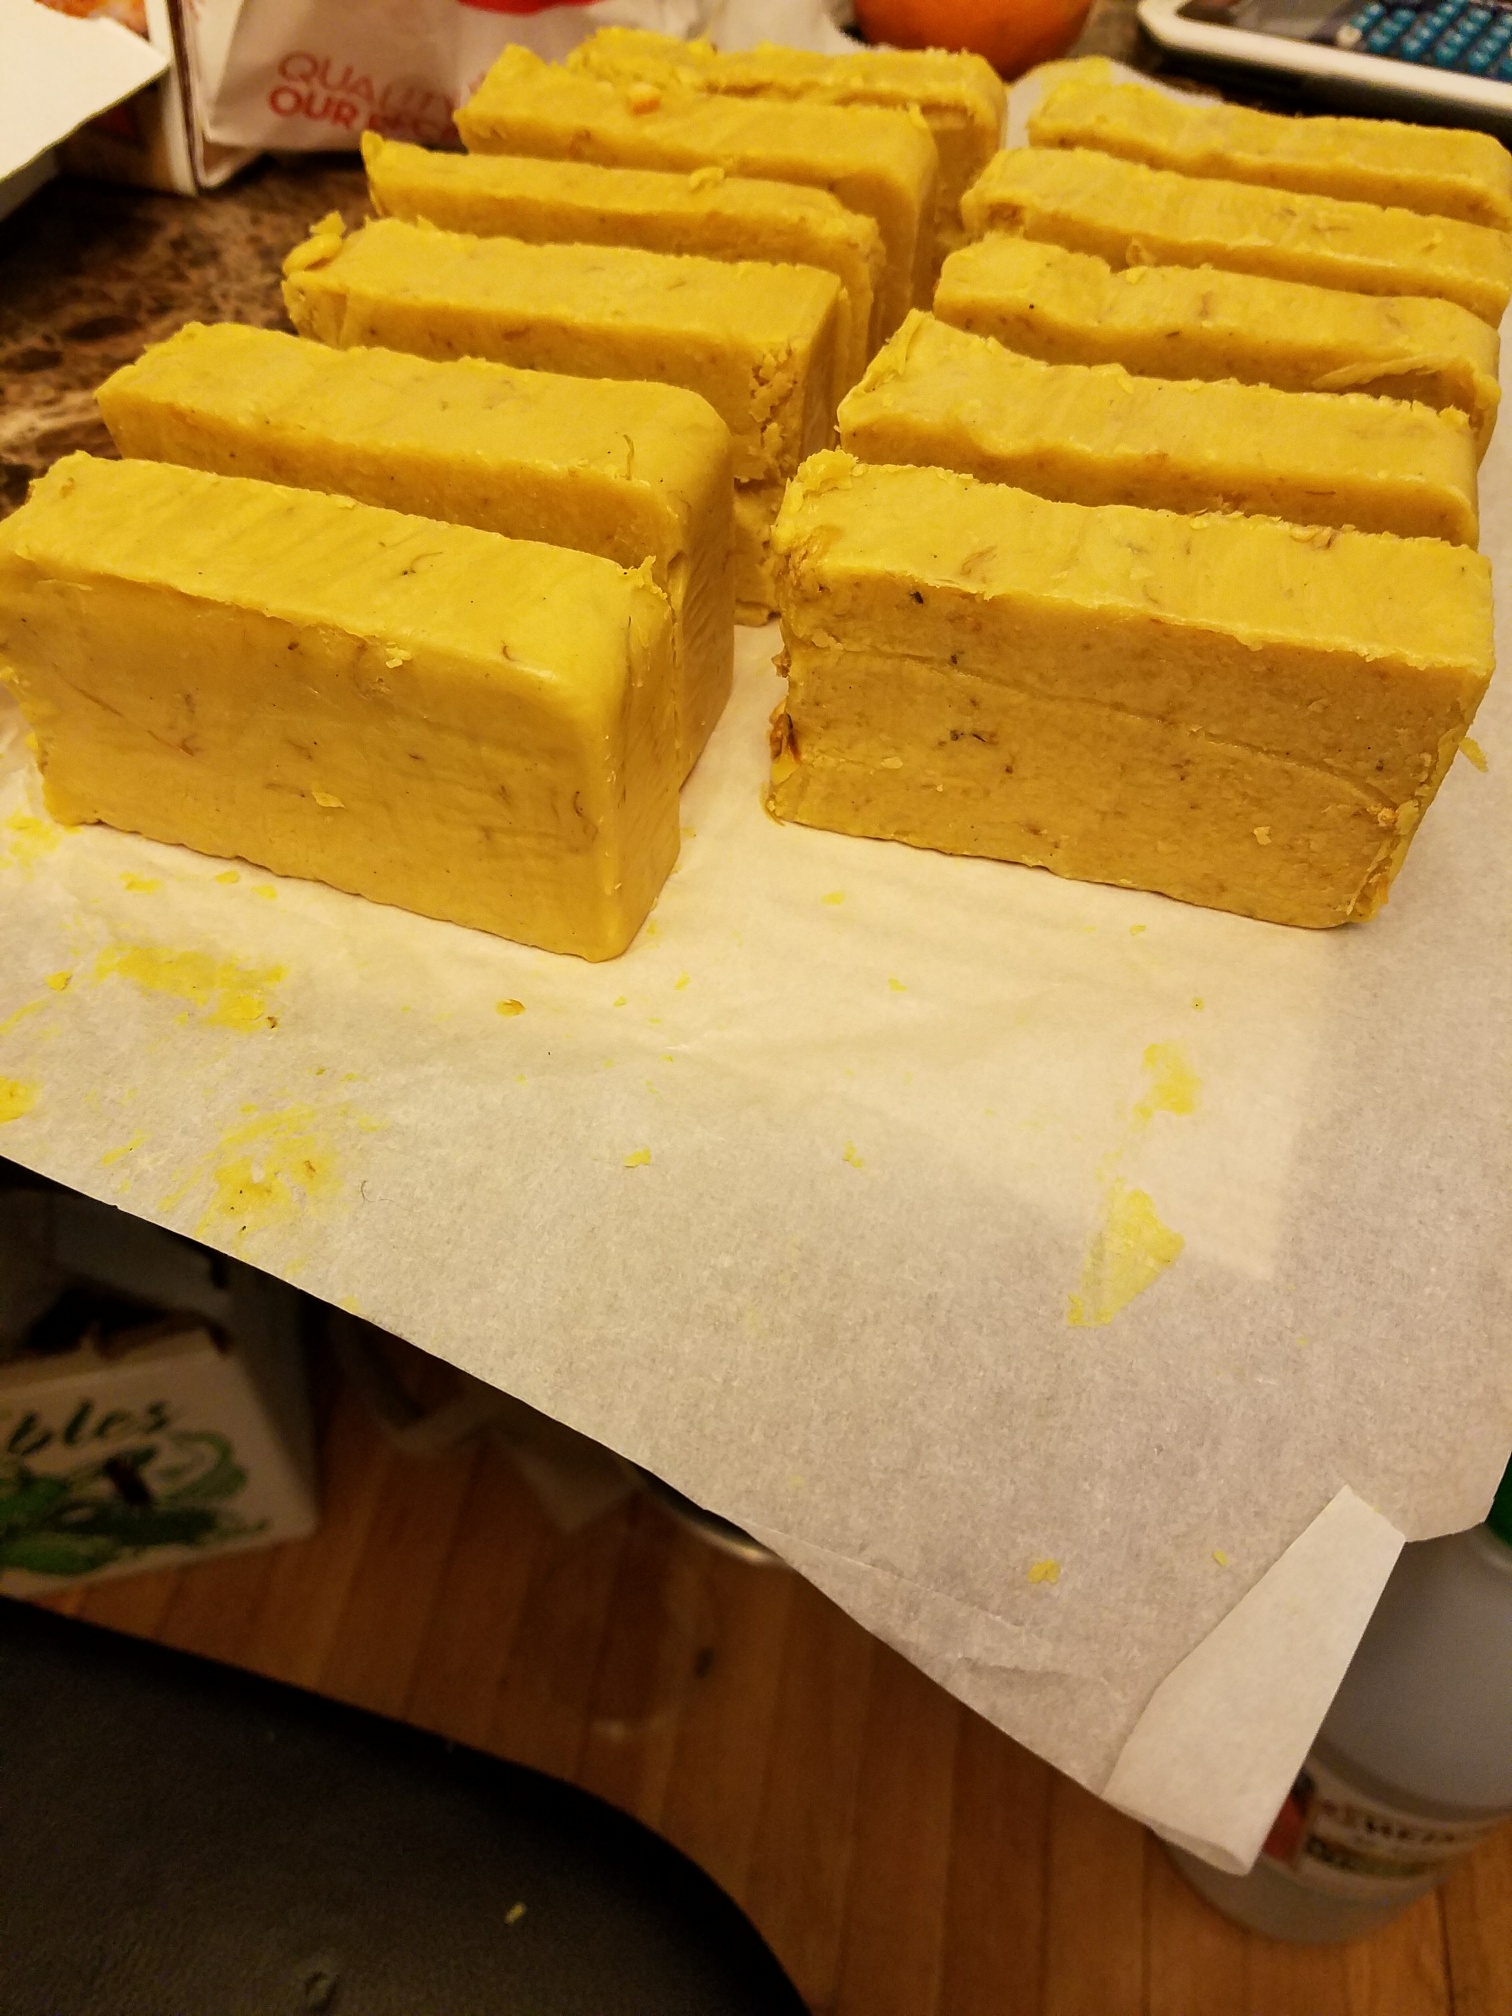
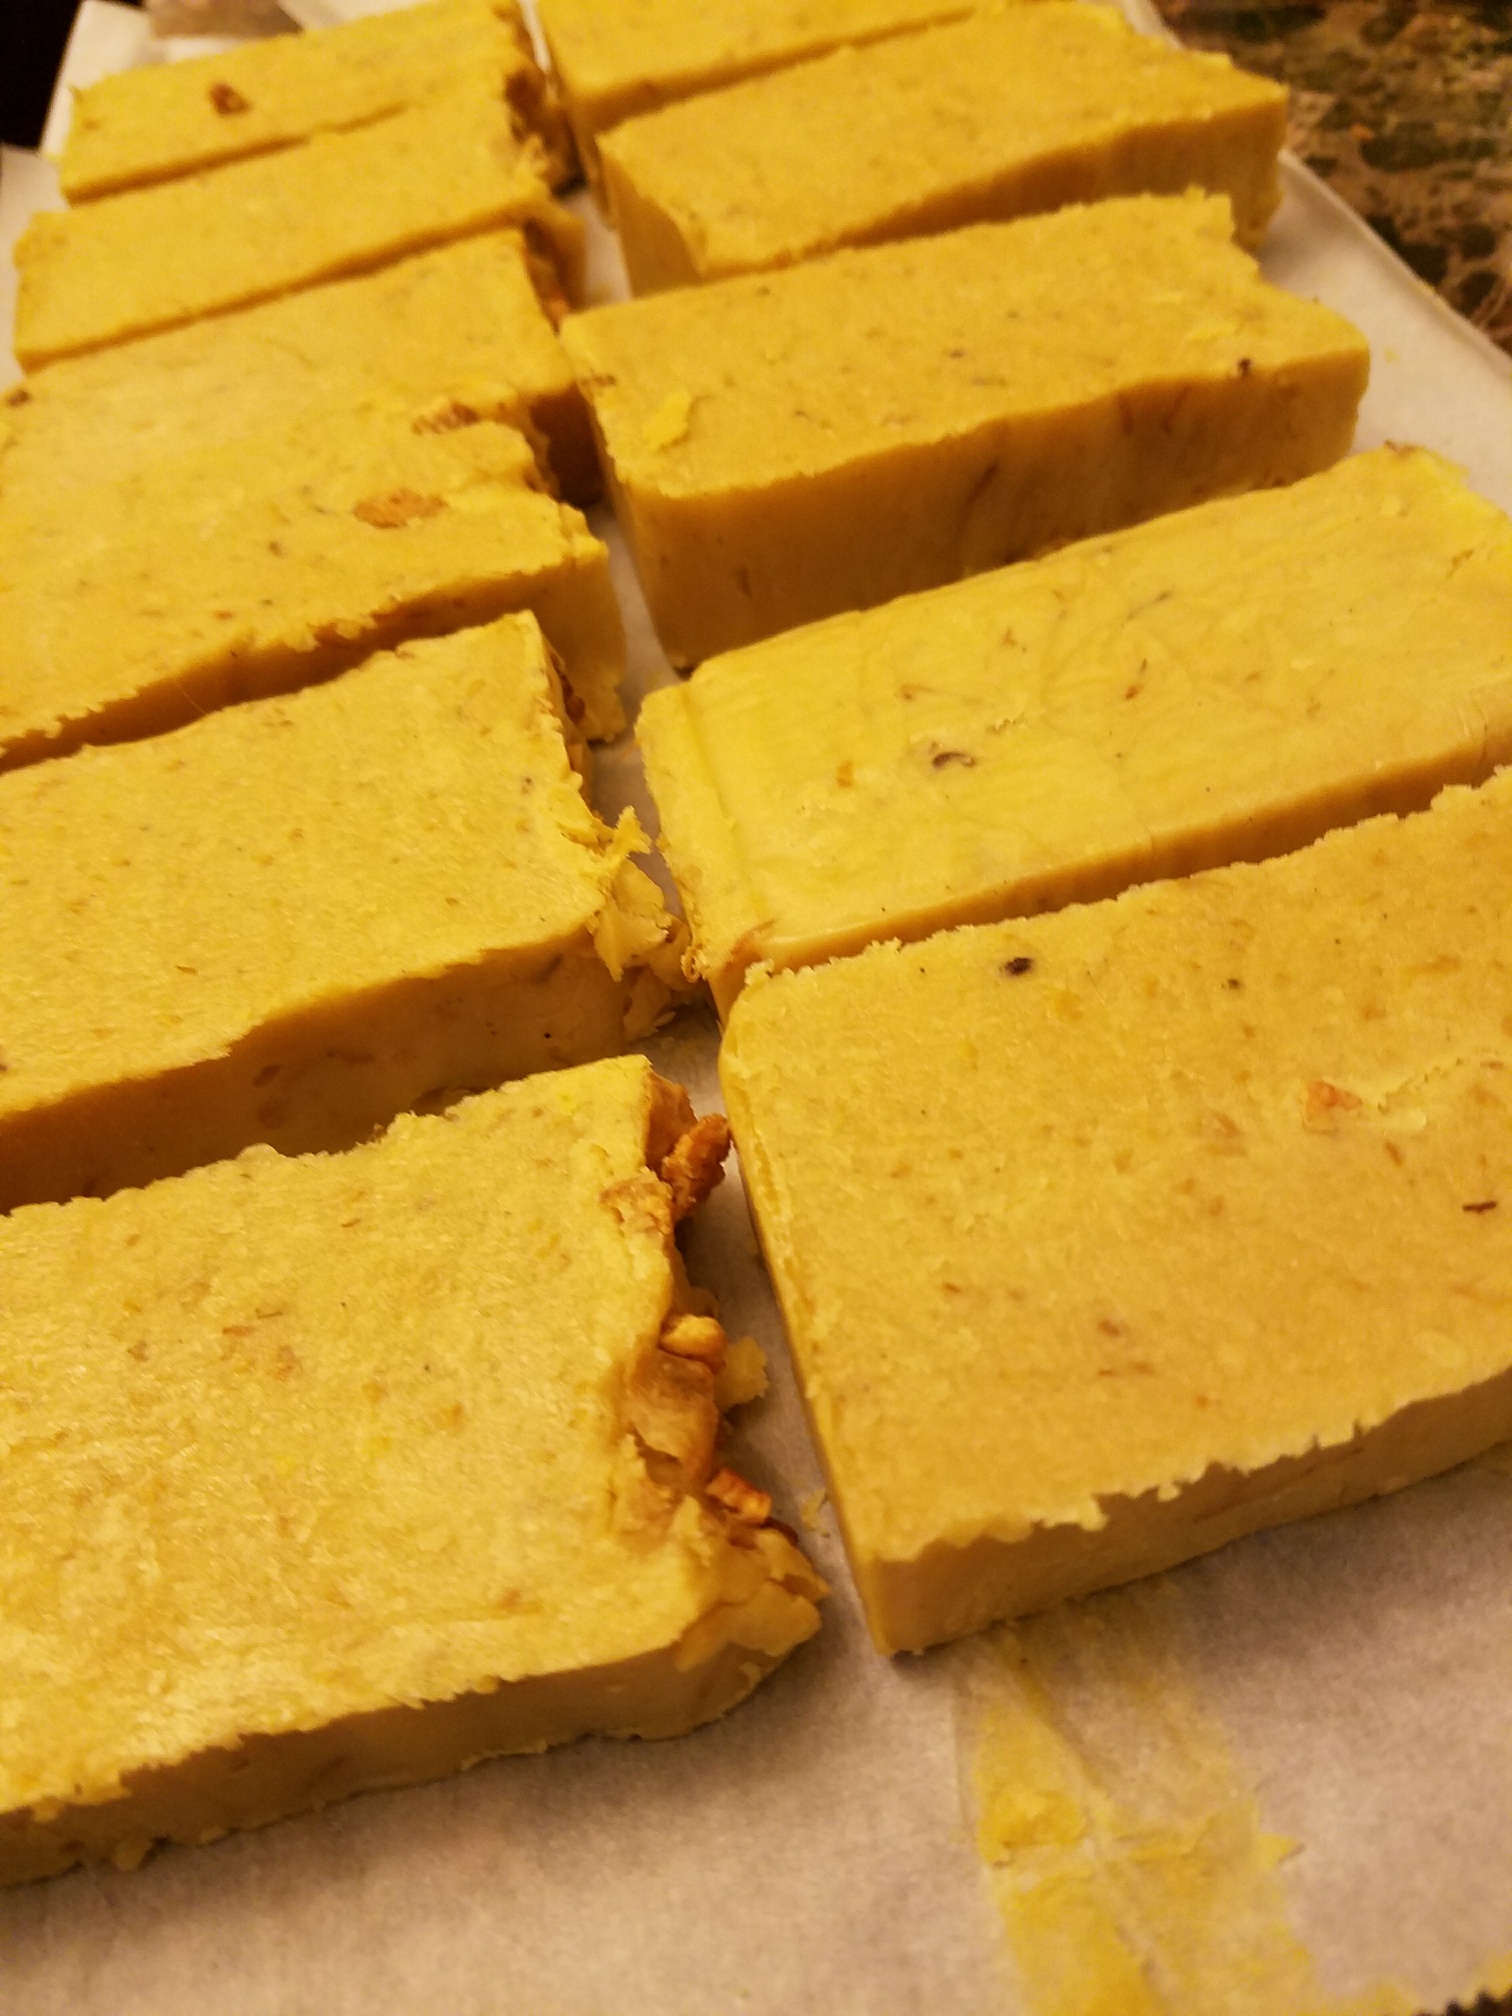
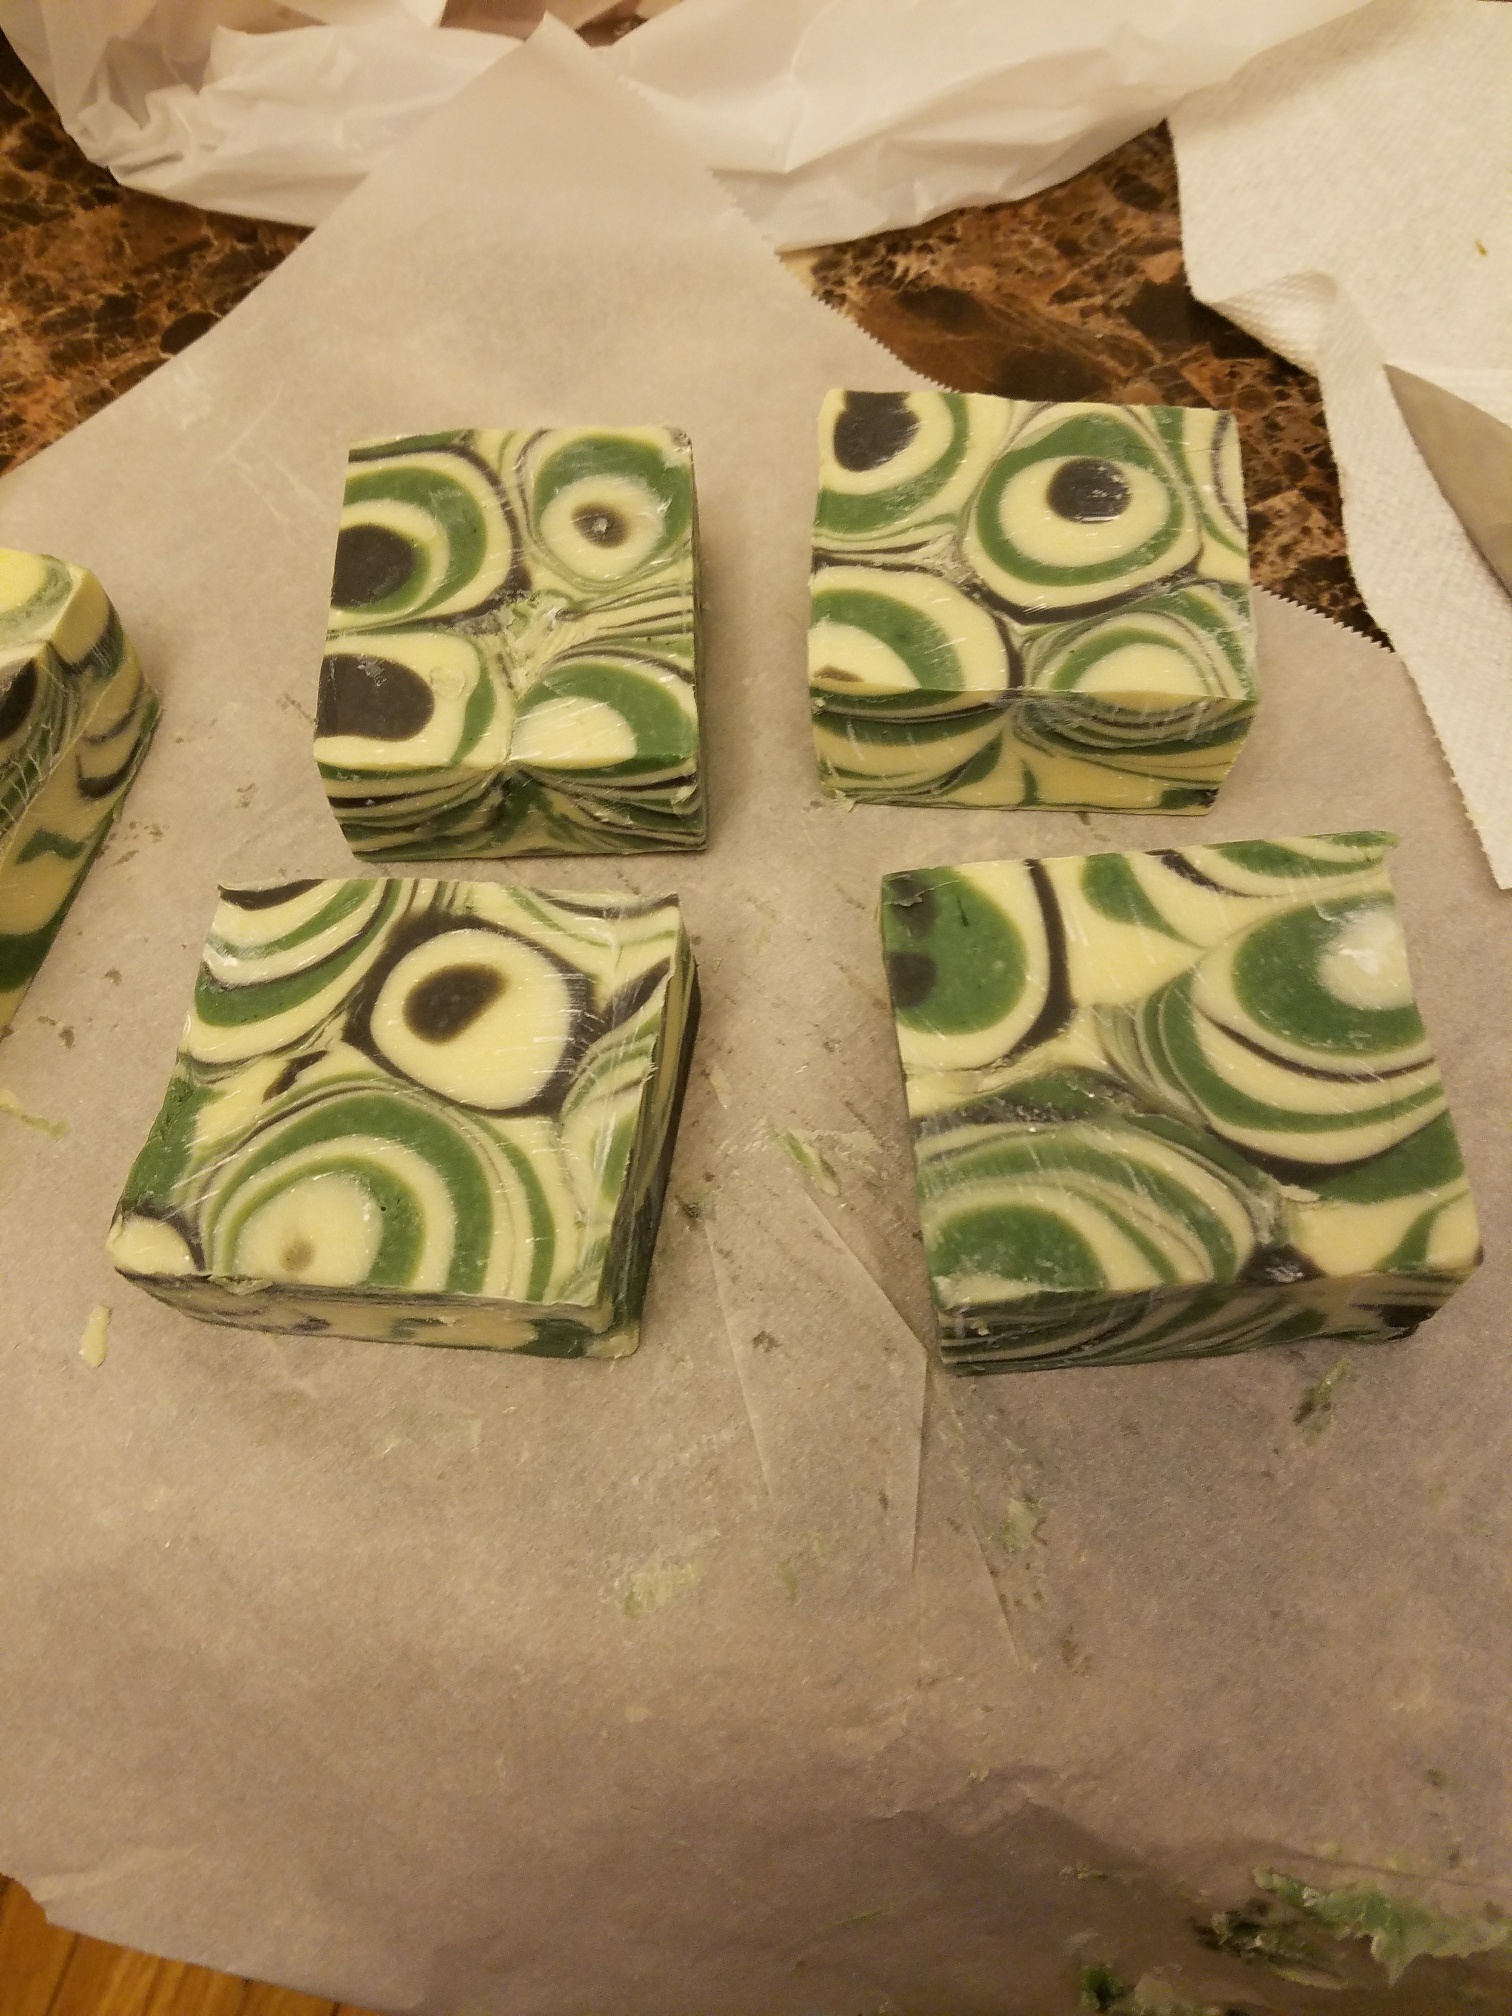
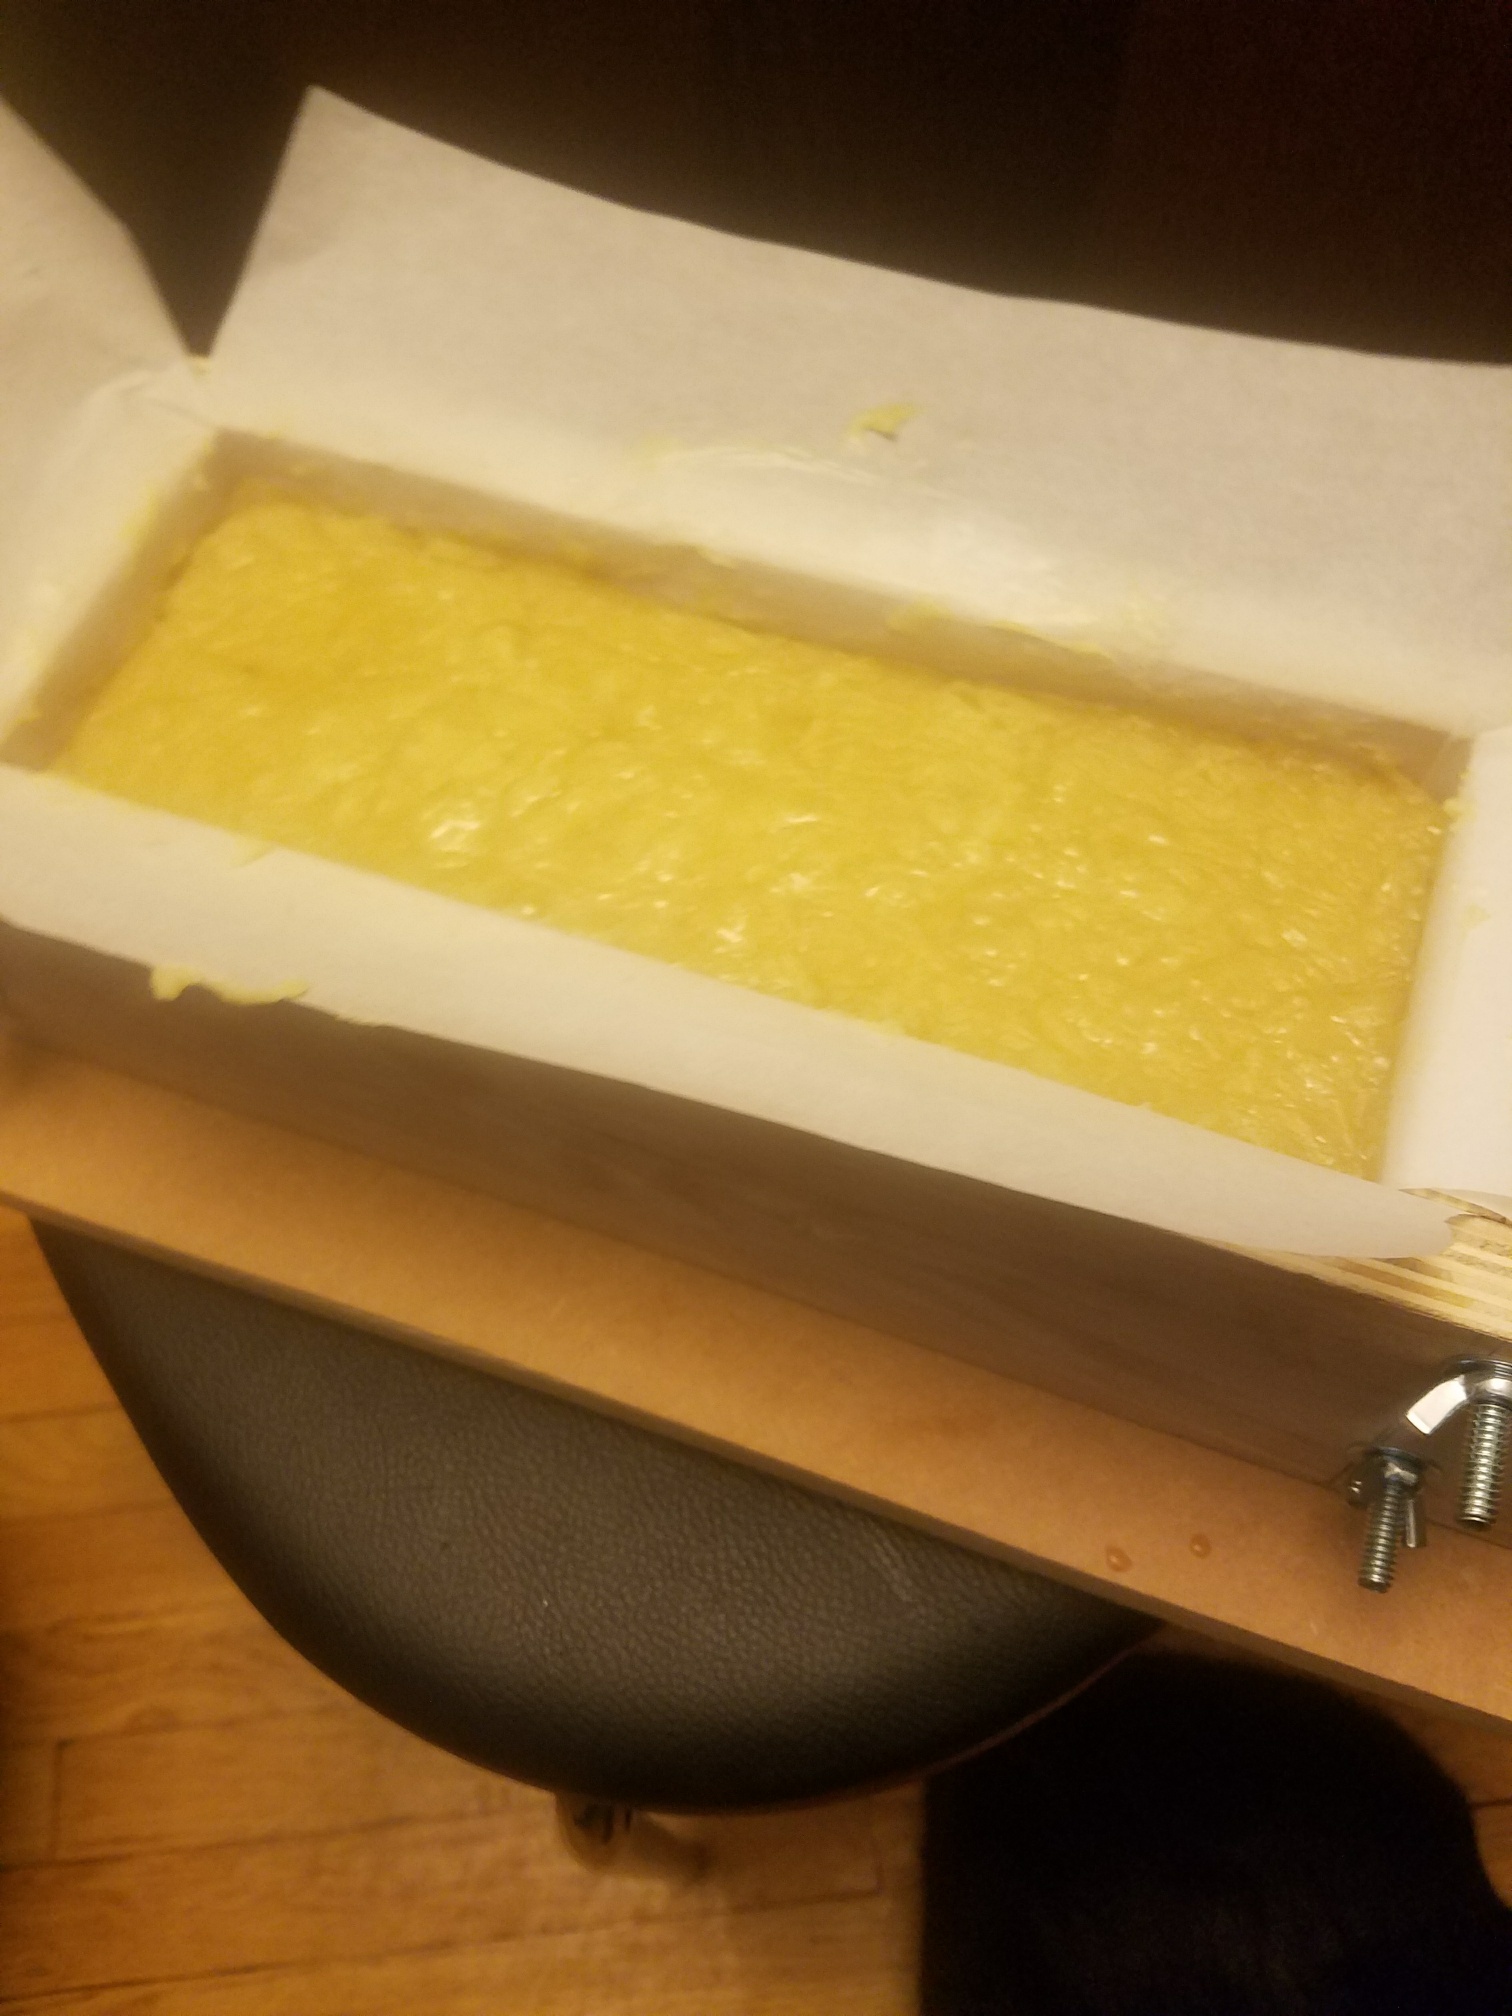
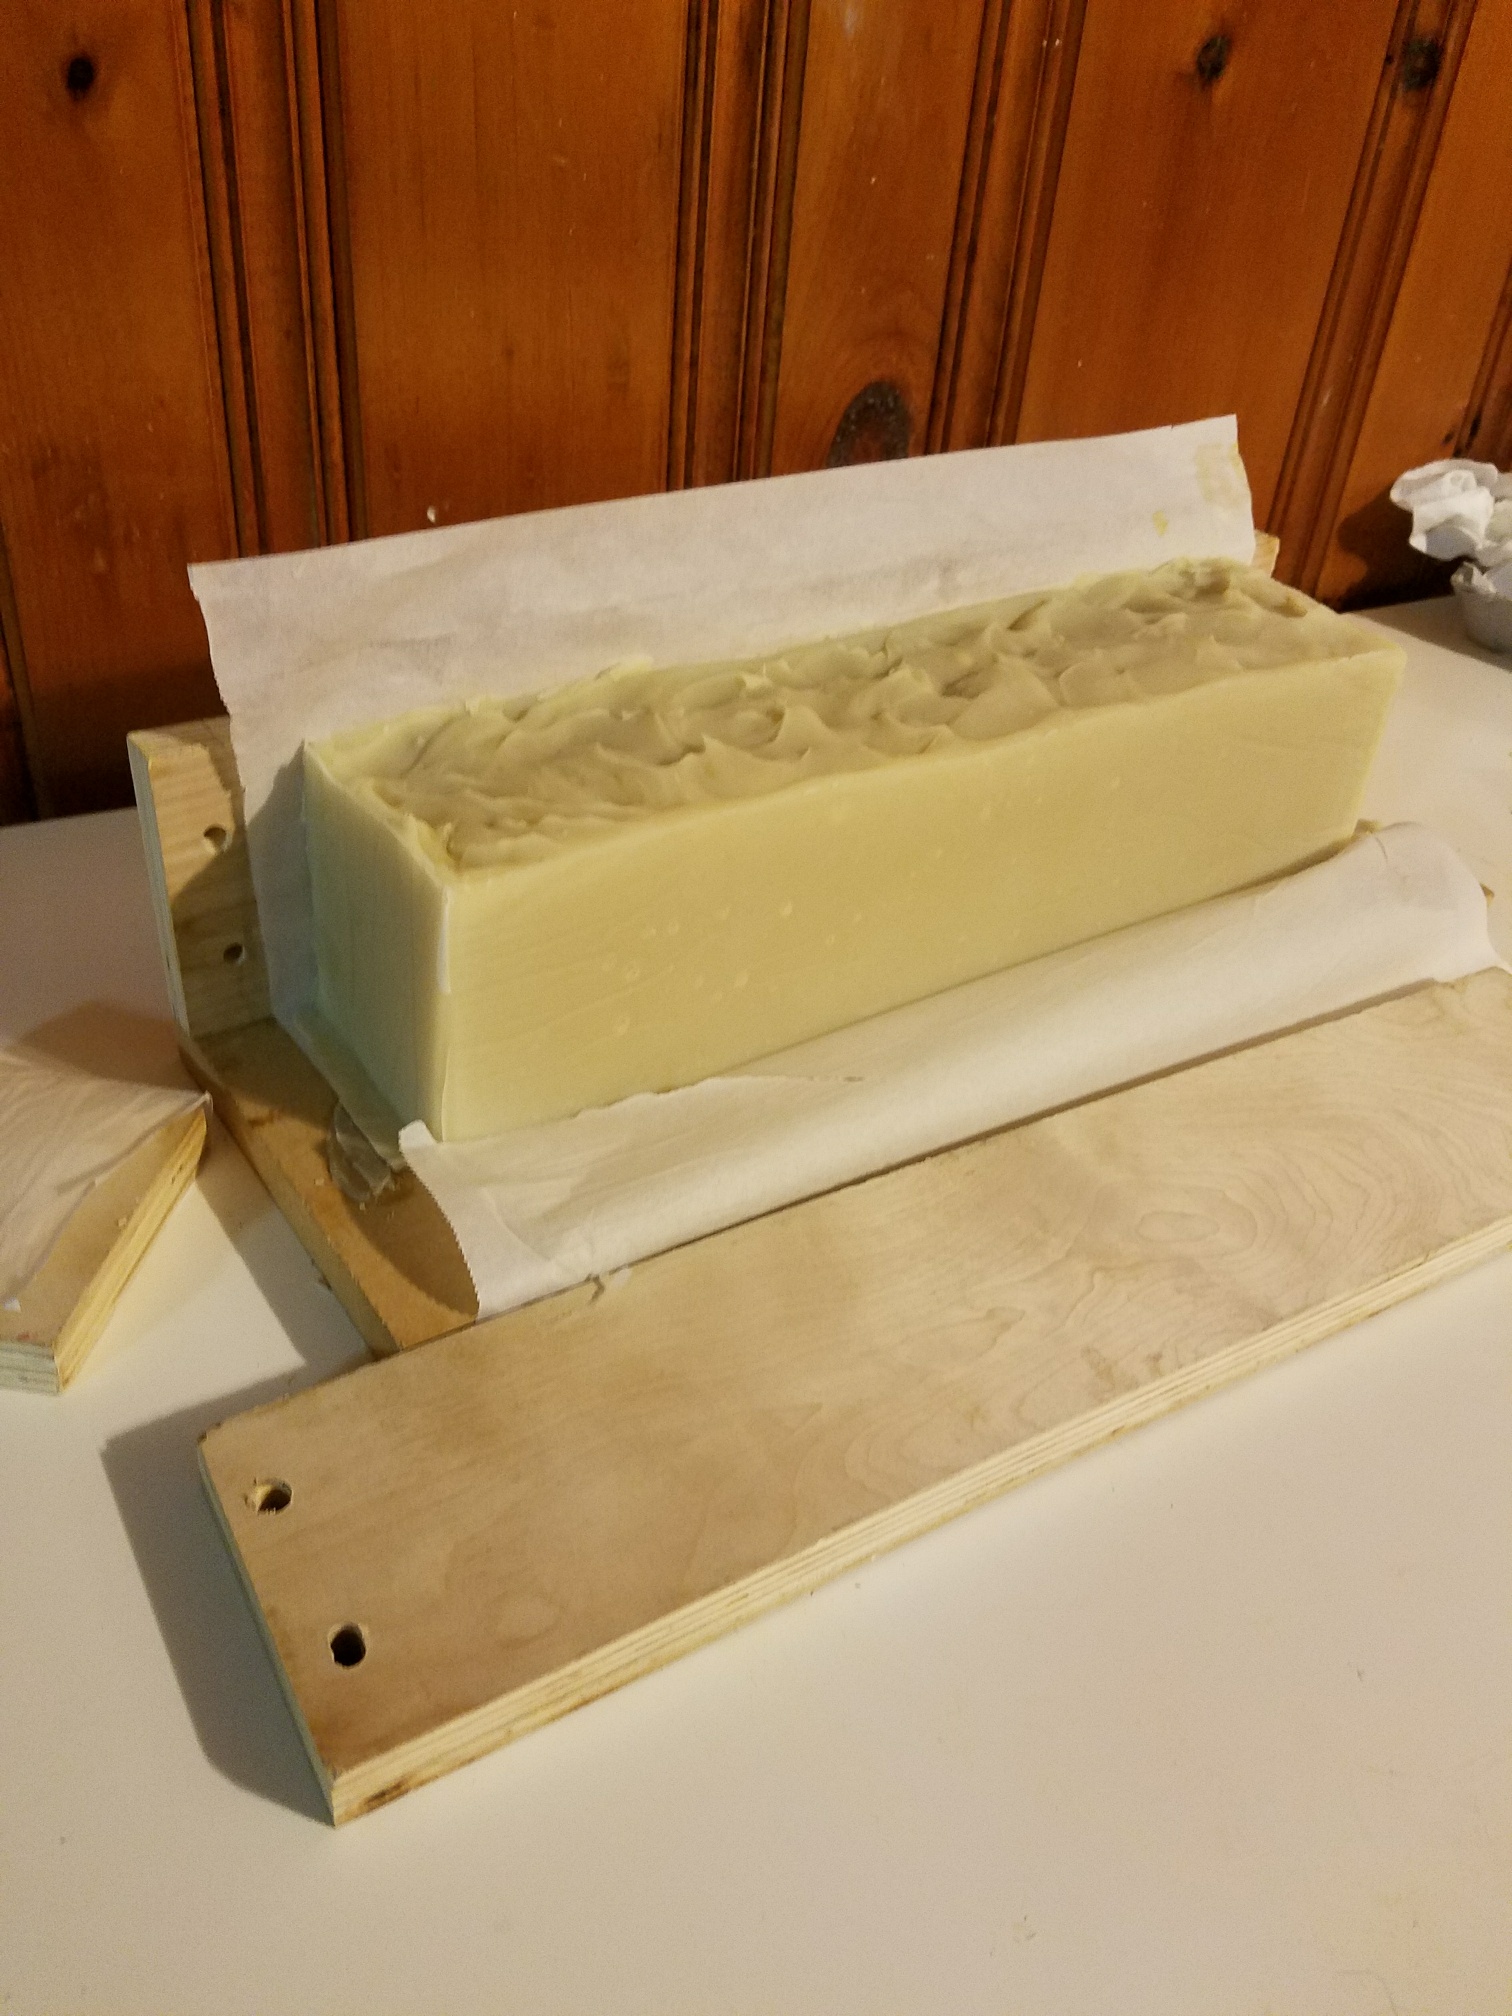
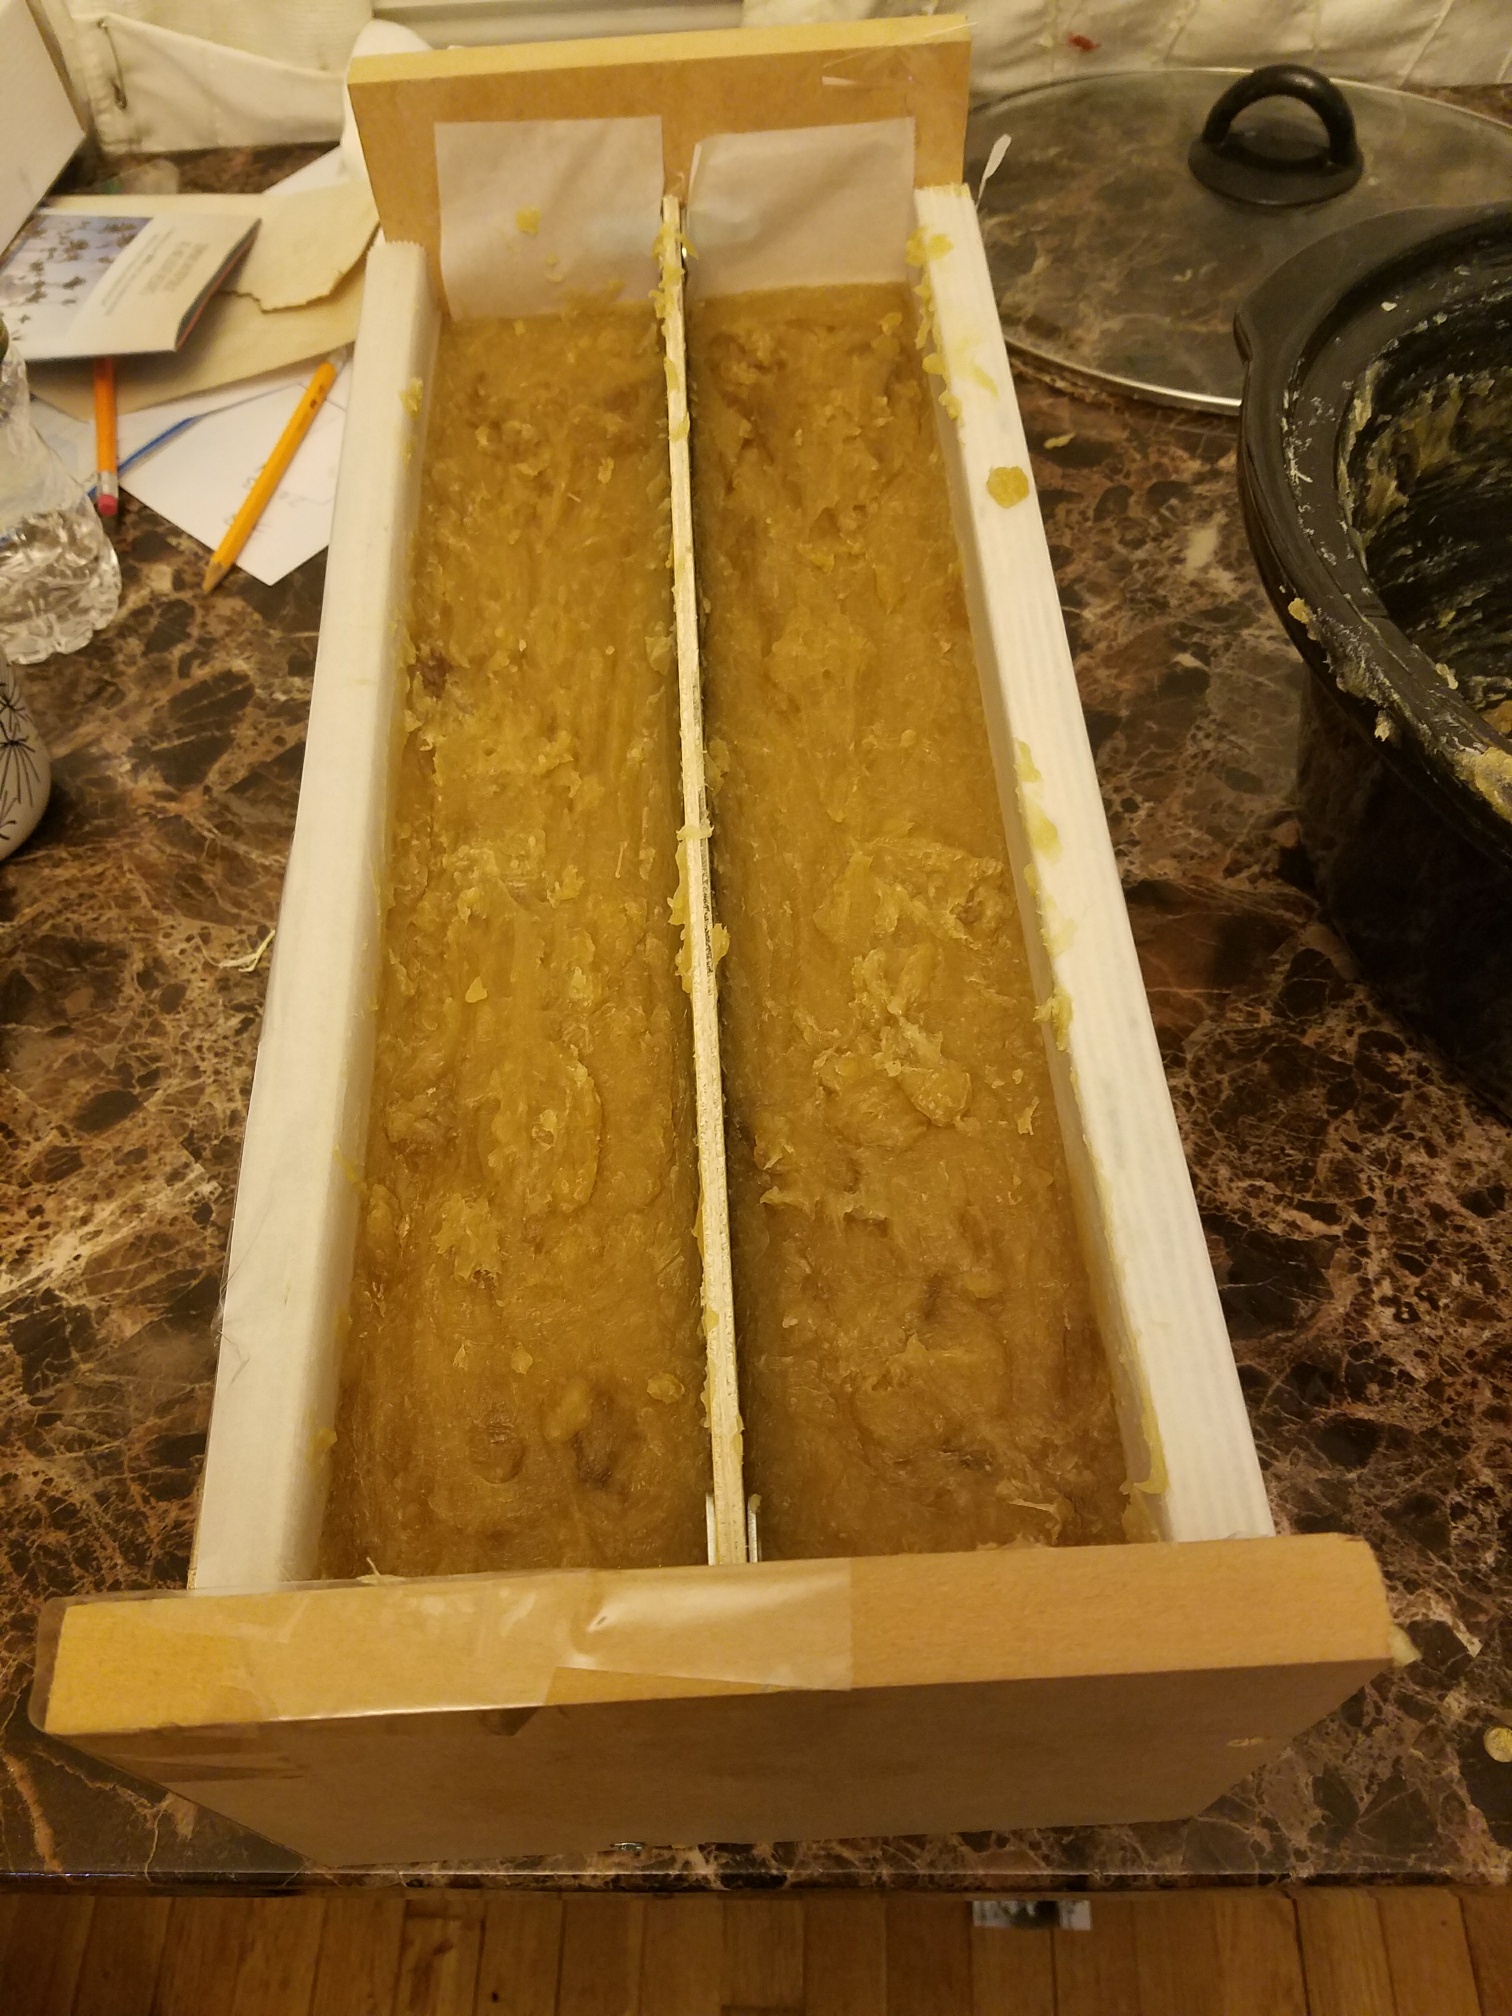
Pour your mixture into a load mold and allow it to cure for at least 24 hours. Remove from mold and cut into bars. Place bars in a safe dry place and allow to dry and harden for 4-6 weeks before use. It is common for cold process soap bars to develop a thin layer of soda ash as a by-product of saponification. To avoid this, people often spray their bars with isoprophyl alcohol at the time of cutting. It your soap gets soda ash, you can easily remove it by quickly dipping each bar in water and patting them dry with a paper towel. It is important to wear rubber or nitrile gloves when doing this. Without gloves, you may leave fingerprints on your soap or oil from you hands may leave a visible residue on the soap.
Instructions for Hot-Process Soap Cooking
As mentioned before, the advantage of using the hot-process method is that you complete the saponification process in a short period of time (30-minutes to 2 hours, depending on the recipe) and you may be more successful in preserving the scent of your essential oils. Also, with hot-process cooking, you will not have a problem with soda ash forming on your soap. You can use the same recipe (seen above) using the hot-process method. You will need to heat your oils and do the cooking in a slow cooker set at the low temperature setting. You may want to start with more water in your lye solution since water evaporates in the cooking. Or, if your mixture seems too thick, you may add a little water at any time. Follow the same protocols and instructions of the cold-process instructions given above, up to achieving light trace. Once you have achieved trace, put some plastic wrap over your food cooker and/or cover it with its lid. Every 15-20 minutes use a whisk to blend your mixture thoroughly. It is necessary to keep an eye on your batch, because occasionally a batch may “volcano” if left unattended. If the batch starts growing and the temperature is on the way to 200 degrees Fahrenheit, it may be headed for “volcano.” The way to keep this from happening is to whisk the batch thoroughly and reduce the heat. You may see your batch go through different phases. You will know saponification is complete when it looks like a big pile of vaseline.
At this point, remove it from the heat. Keep it covered and allow it to cool. When it reaches 120 degrees Fahrenheit, it should be safe to add the essential oils. Spend a few minutes blending the oils in with the whisk to make sure they are fully incorporated.
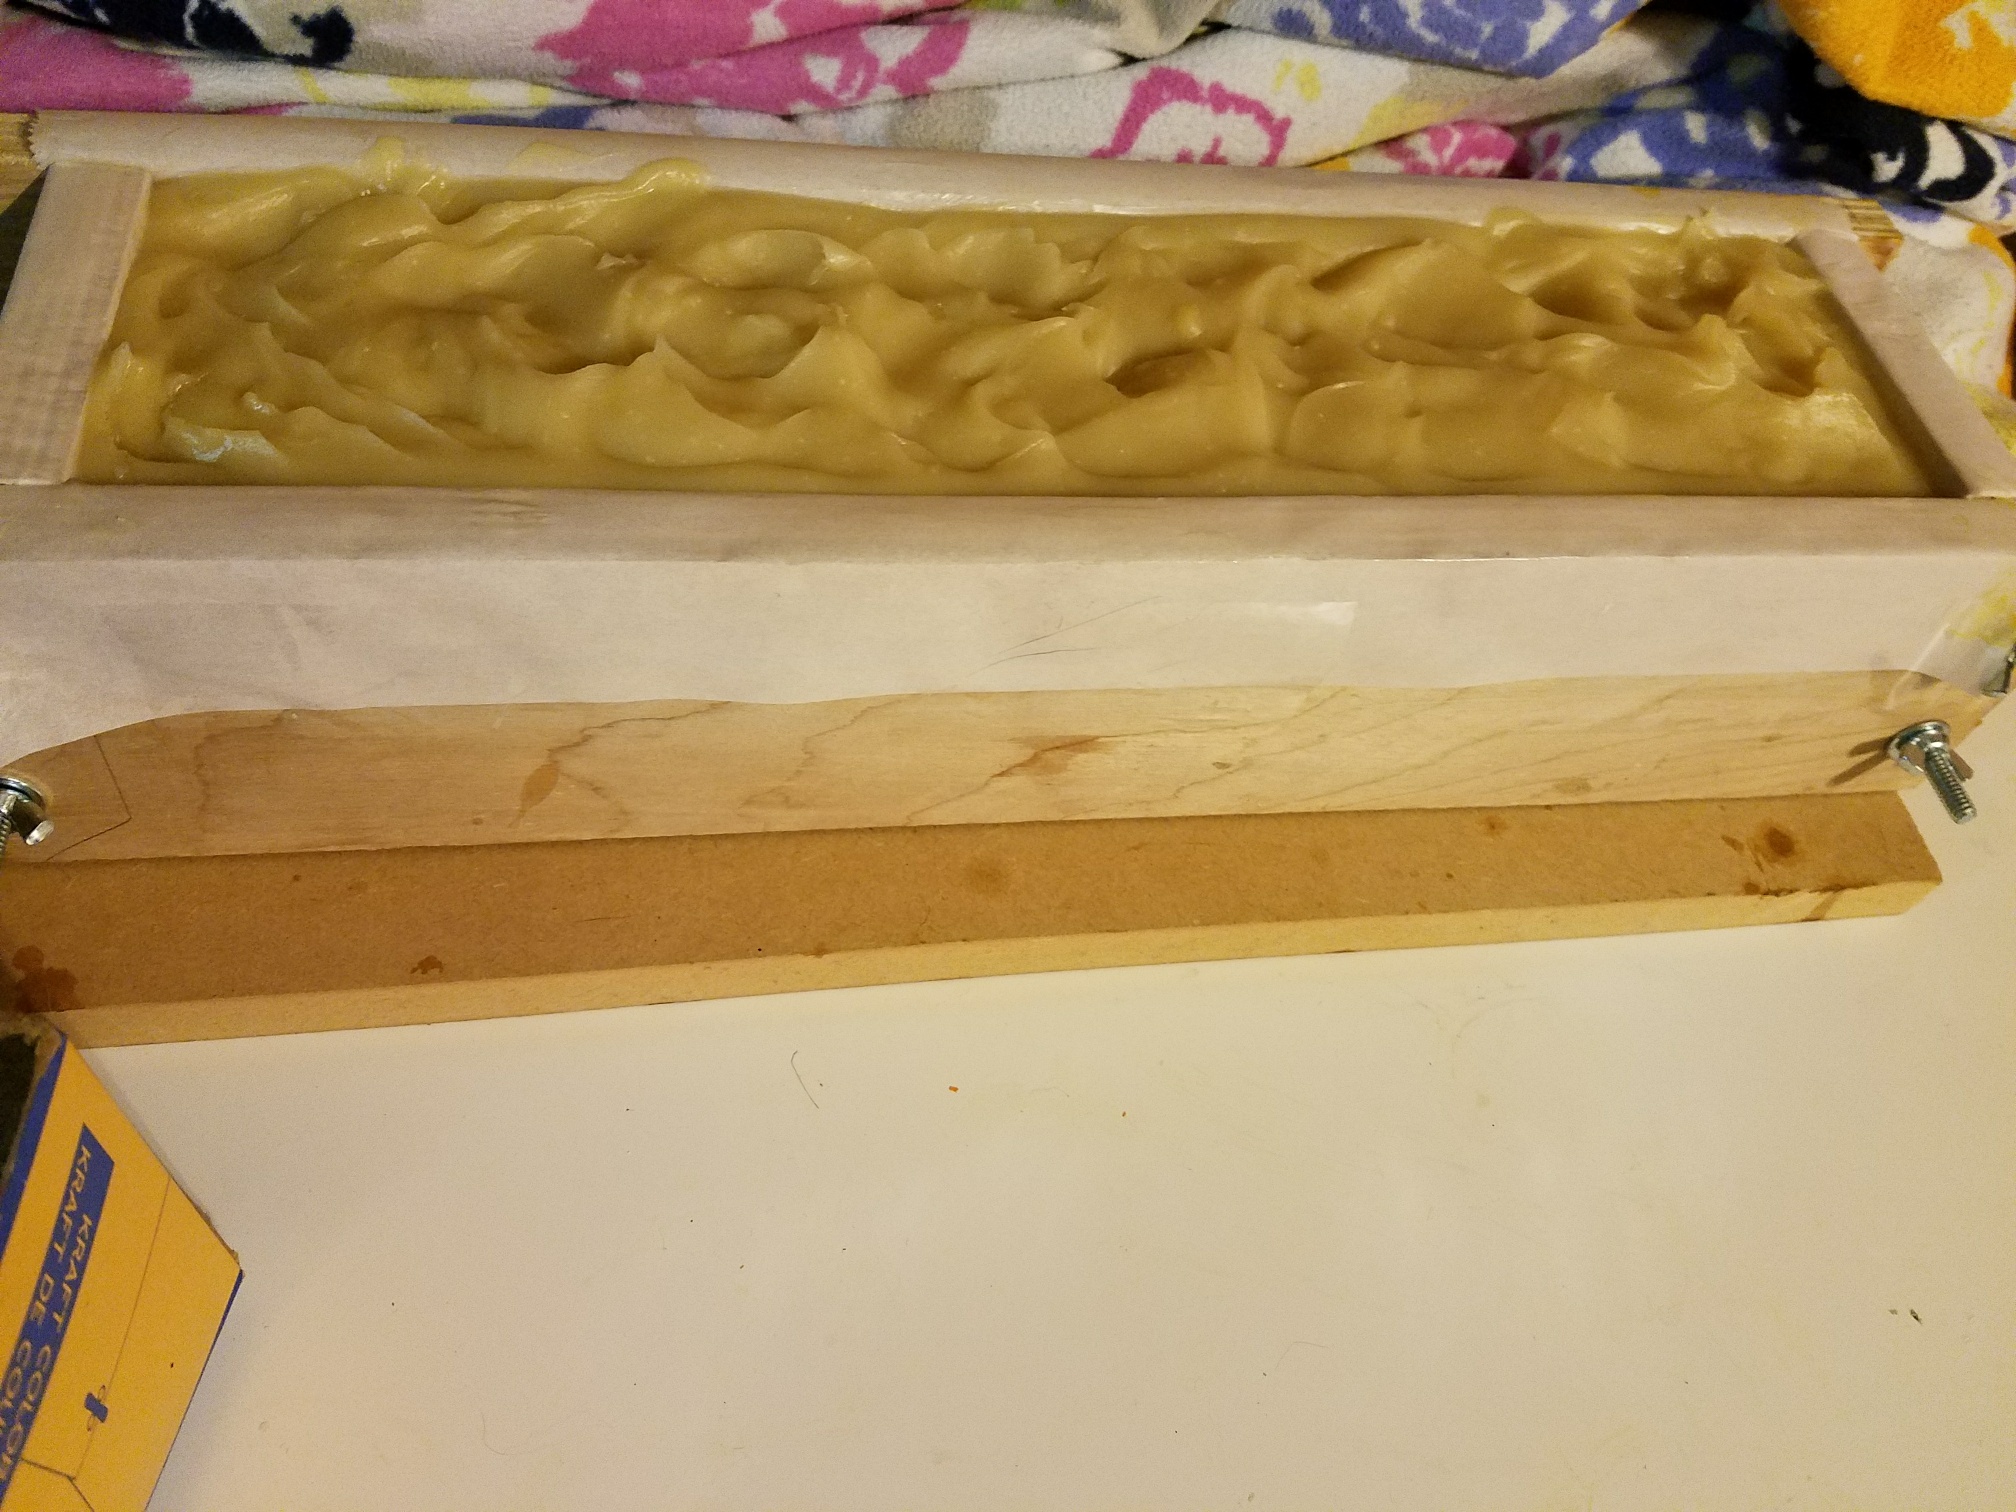
Pouring your batch into a mold is more difficult than with cold-process, because your mixture will be thick. As you fill the mold, slam the mold hard on the table or floor to remove air pockets and make sure the soap batch reaches all spaces inside the mold. There will be leftover material in the slow cooker. You can gather it with a silicone spatula and shape into a ball or bar with your hand. Since saponification is complete, you can actually try this bar the same day to see how well your final soap will work.
Allow your soap to solidify and harden at least 24 hours before removing from the mold. Cut into bars. Although this soap can technically be used, it is better to allow it to harden for 4-6 weeks. soap that is still soft will be used up faster than soap that is thoroughly dried and hardened.
The following items for soap making are available at Chemicalstore.com : sodium hydroxide, potassium hydroxide, activated carbon, beeswax, Titanium Dioxide, Red Iron Oxide (Ferric Oxide), Chromium Oxide